Ninja Creami Beginner Guide (How to Use It + Easy Tips)
If you’re new to the Ninja Creami, you’re in the right place. When I first started using mine, I quickly learned that small details make a big difference in texture and results. This beginner guide will walk you through how to use the Ninja Creami, how to prep your pints correctly, and how to fix common problems so you get smooth, creamy ice cream every time.
This guide is designed for beginners who want simple, reliable results without frustration.

What Is the Ninja Creami?
The Ninja Creami is a countertop ice cream maker that turns frozen bases into creamy frozen desserts like ice cream, sorbet, smoothie bowls, gelato, and milkshakes.
Instead of a large frozen bowl, the Ninja Creami uses individual pint containers. You freeze your base ahead of time, then spin it when you’re ready. This makes it easy to keep several flavors frozen and ready to go.
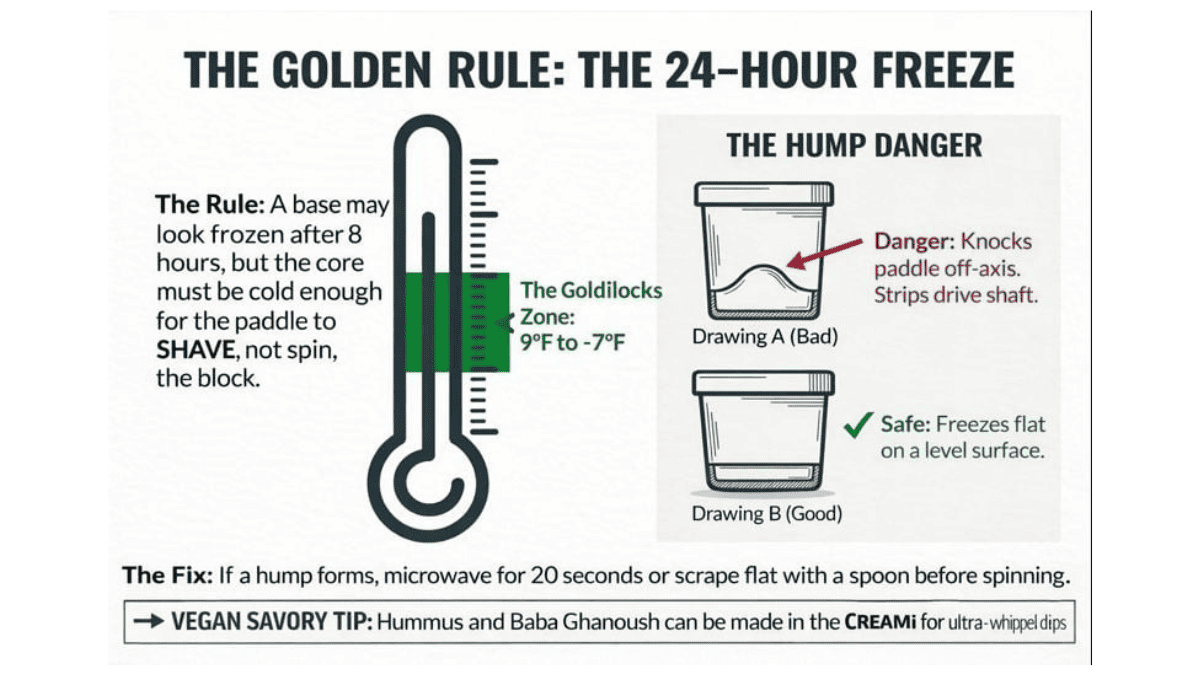
The Most Important Rule for Ninja Creami Success
If you remember only one thing, remember this:
Your pint must be frozen solid for at least 24 hours and have a flat surface on top.
- A fully frozen pint gives the blade the resistance it needs
- A flat top prevents damage and uneven spinning
- Rushing this step leads to a crumbly or icy texture
If your pint has a bump after freezing, simply scrape it flat with a spoon before spinning.
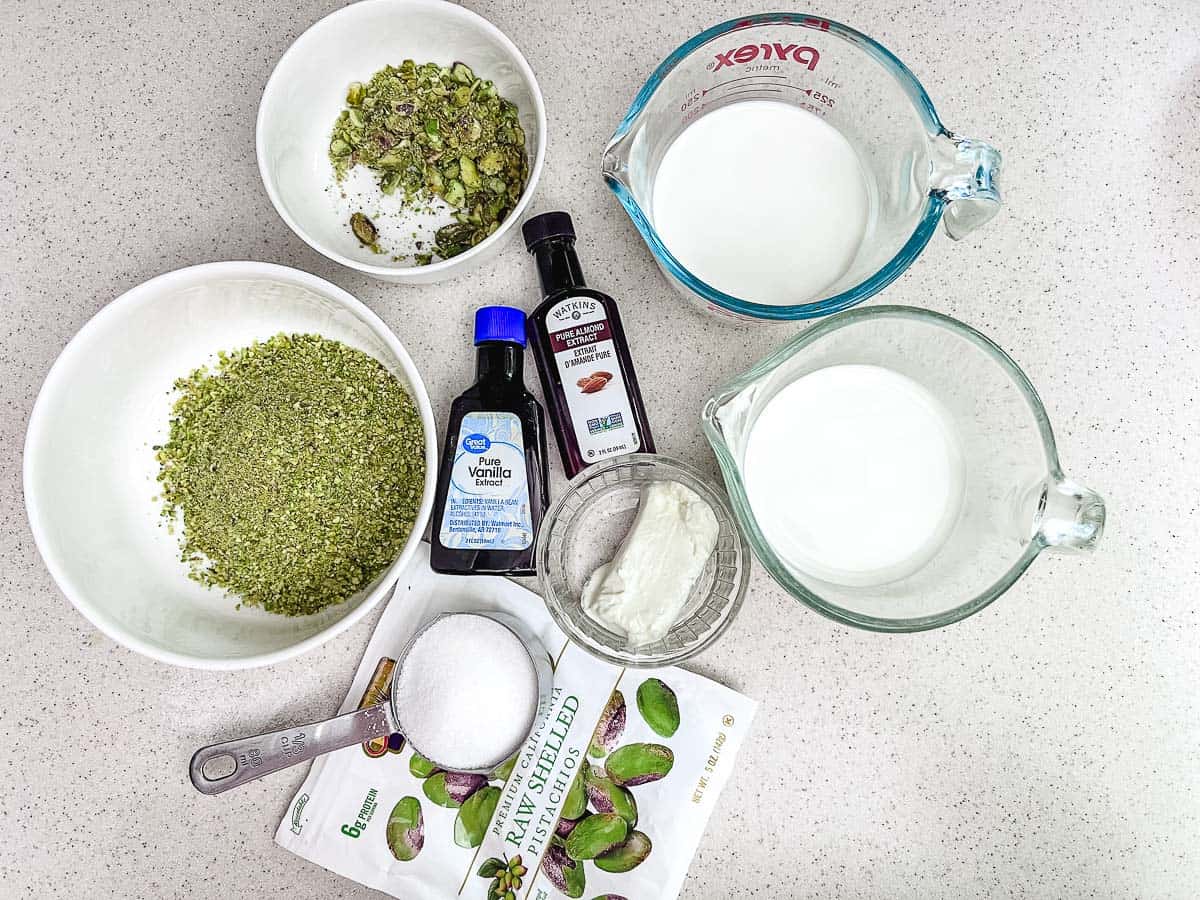
How to Prep a Ninja Creami Pint (Beginner-Friendly)
- Mix your ingredients according to the recipe
- Pour into a Ninja Creami pint container below the MAX FILL line
- Secure the lid and place the pint flat in the freezer
- Freeze for 24 hours for the best results
Optional but helpful:
- Let the pint sit on the counter for 5–10 minutes before spinning
- Run the outside of the pint under warm water for a few seconds
These small steps help the ice cream spin more smoothly.
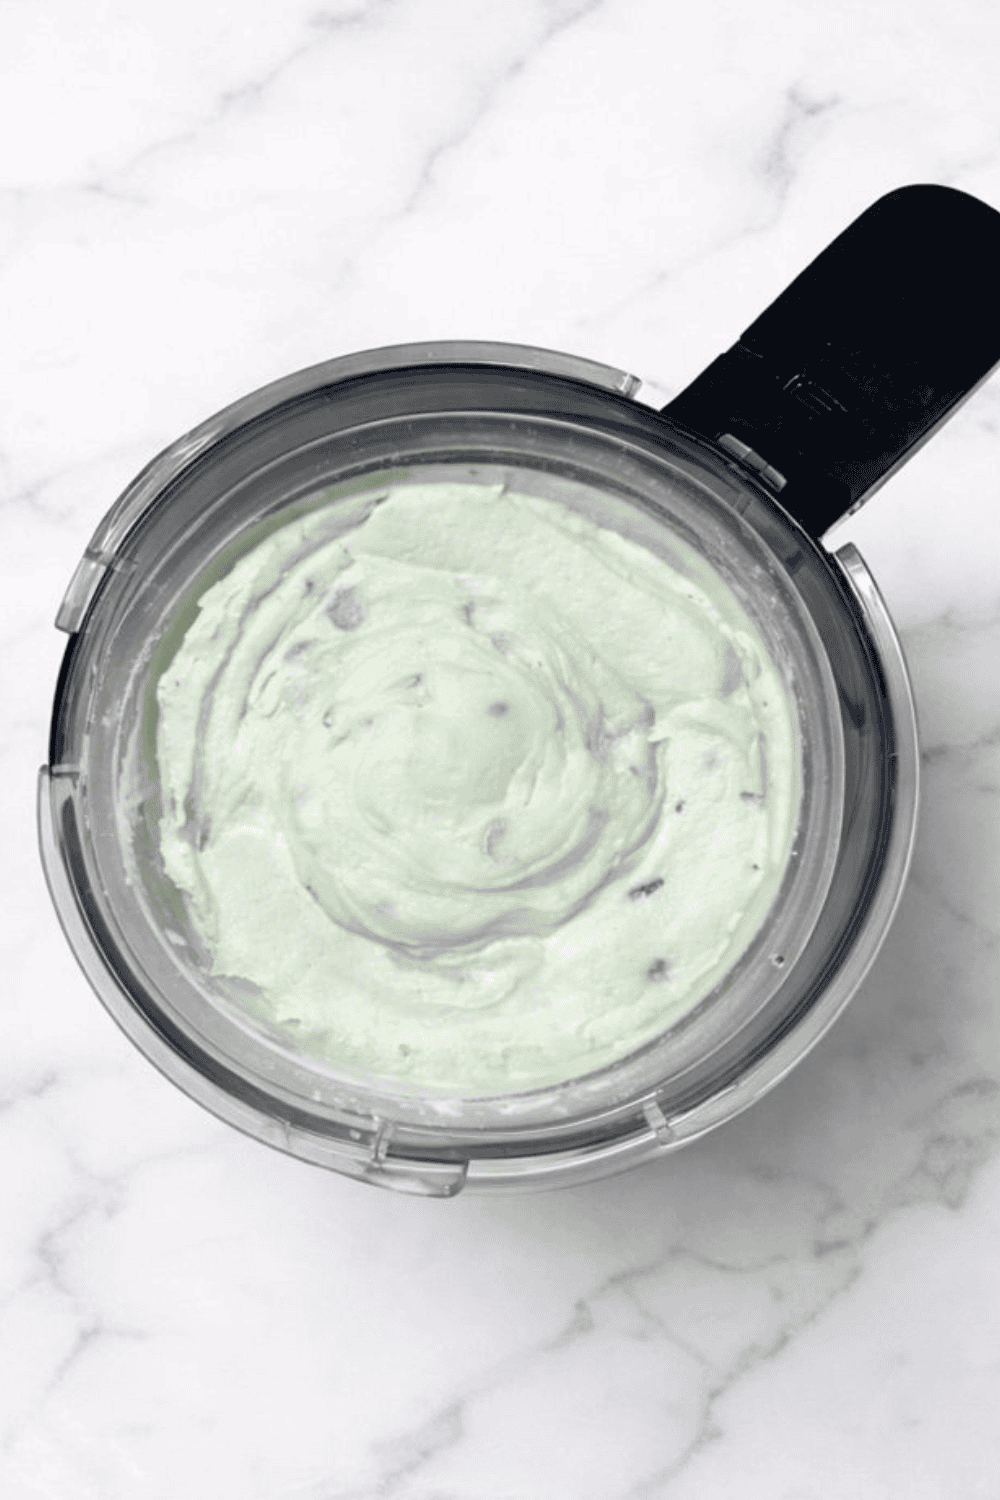
What to Do If Your Ice Cream Looks Crumbly
This is one of the most common beginner concerns — and it’s an easy fix. If your ice cream looks powdery or crumbly after the first spin: (Crumbly does not mean you did anything wrong.)
- Put the pint back in the machine
- Press the Re-Spin button
- Repeat once more if needed
- You can also add: 1–2 tablespoons of milk or cream before re-spinning
Understanding the Ninja Creami Settings
Here’s a simple breakdown of what each setting does. Here’s a simple breakdown of what each setting does:
- Ice Cream – Best for full-fat, rich ice cream recipes
- Lite Ice Cream – Use for low-fat or dairy-free bases
- Sorbet – Perfect for fruit-based recipes, fresh or canned
- Smoothie Bowl – Great for yogurt or fruit-based bowls
- Milkshake – For thinner, drinkable desserts
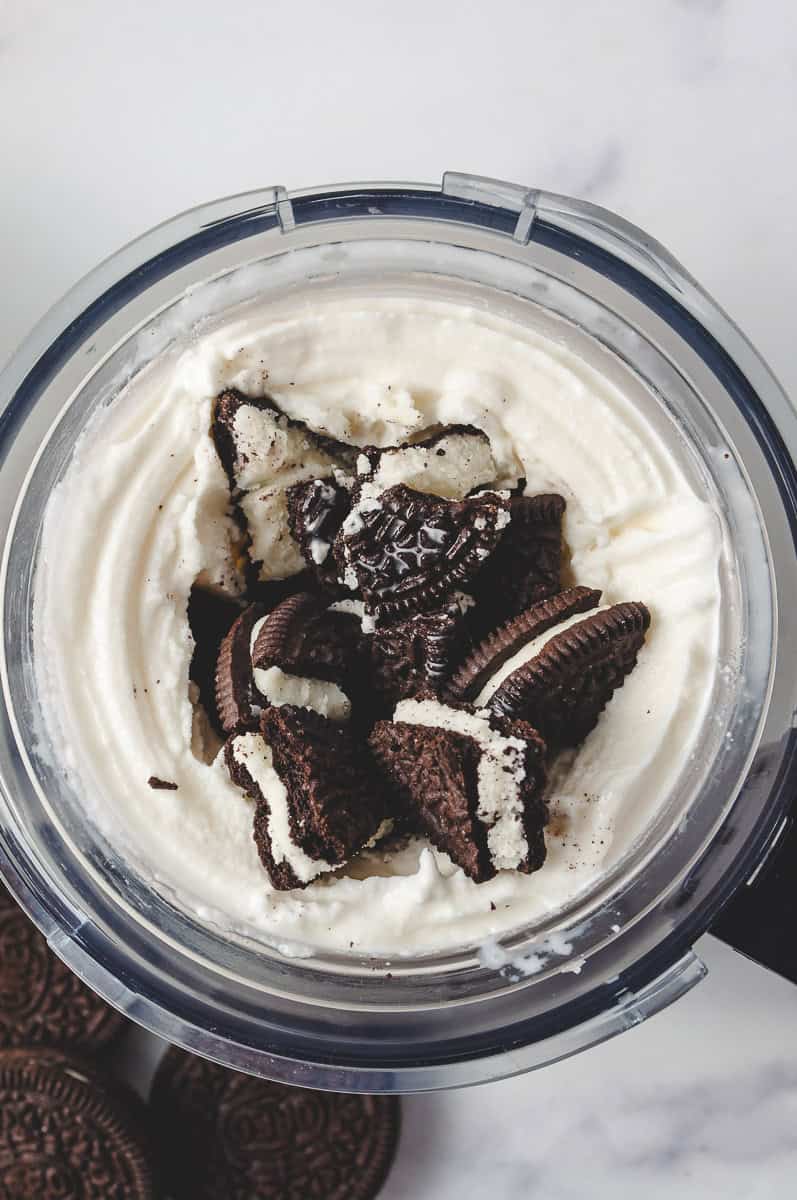
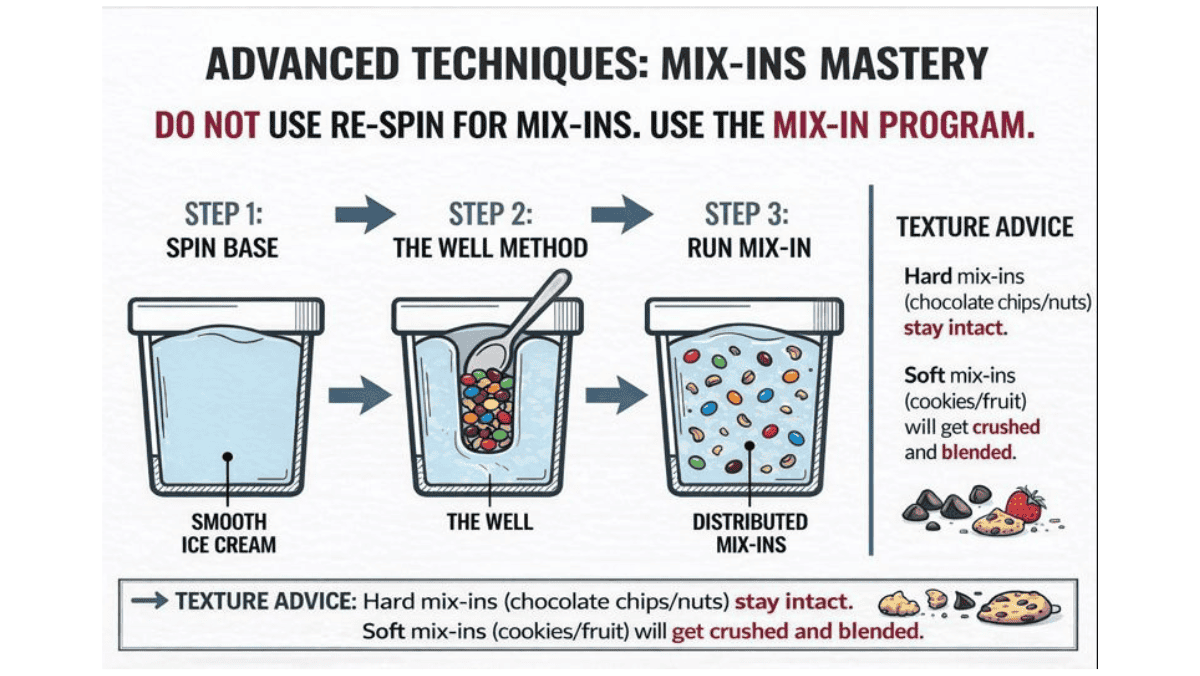
- Mix-In – Adds chocolate chips, fruit, or candy after spinning
- Re-Spin – Smooths out crumbly or icy texture
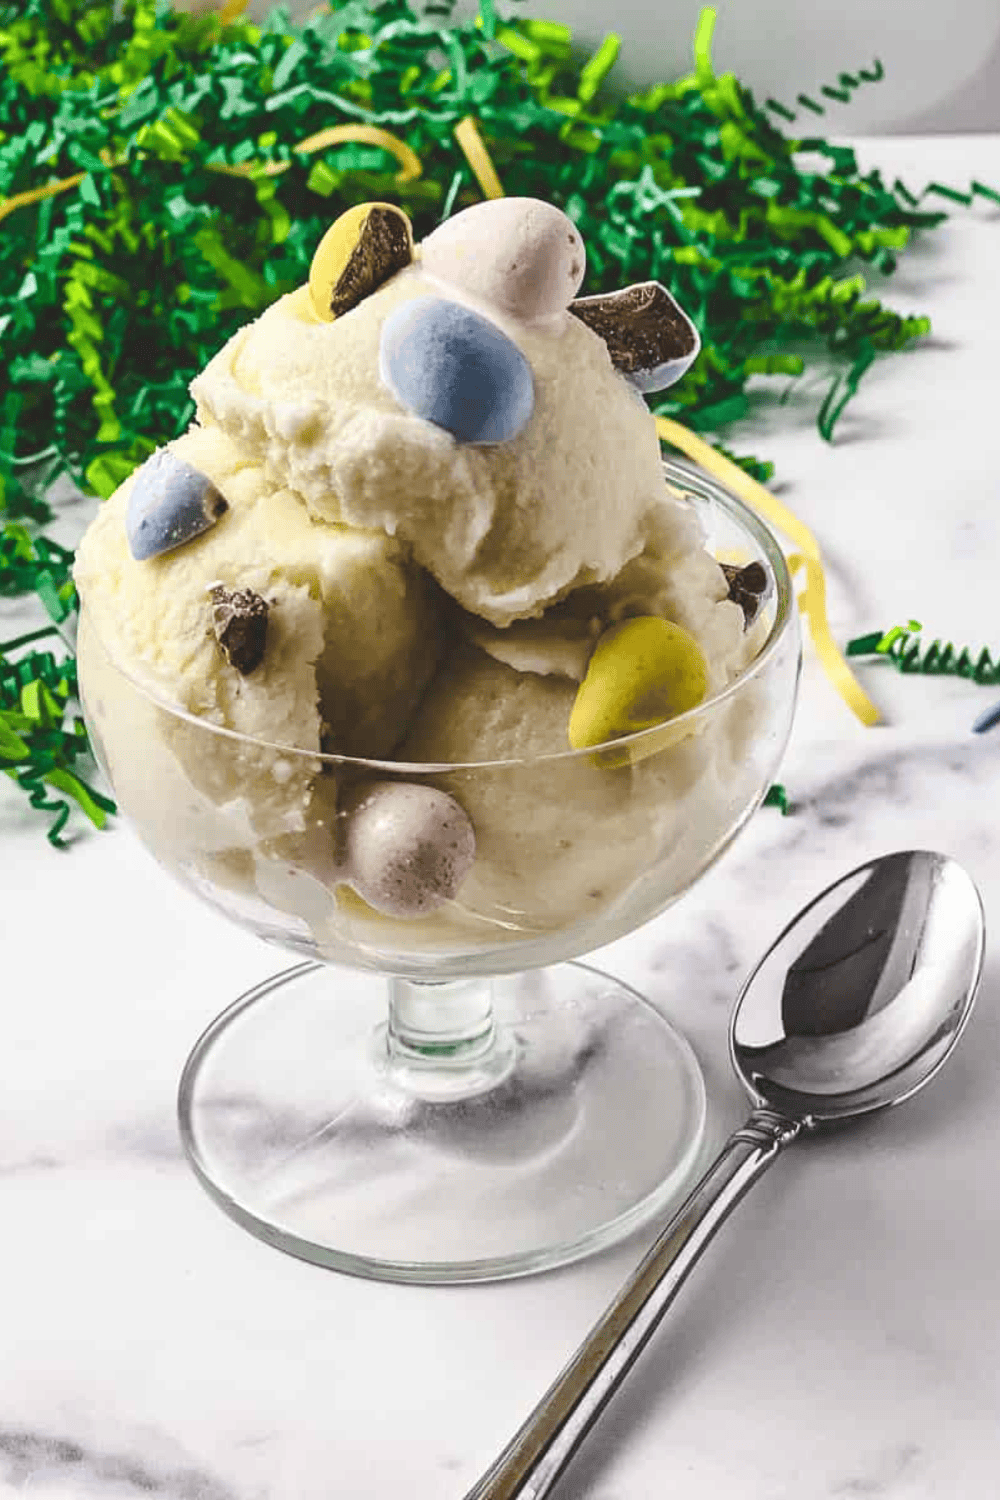
What Ingredients Work Well in the Ninja Creami
One of my favorite things about the Ninja Creami is how flexible it is. This makes it easy to customize recipes for your family’s needs.
You can use:
- Heavy cream, half and half, or skim milk
- Almond milk, coconut milk, or oat milk
- Fresh, frozen, or canned fruit
- Sugar or sugar substitutes
- Protein powder for high-protein ice cream
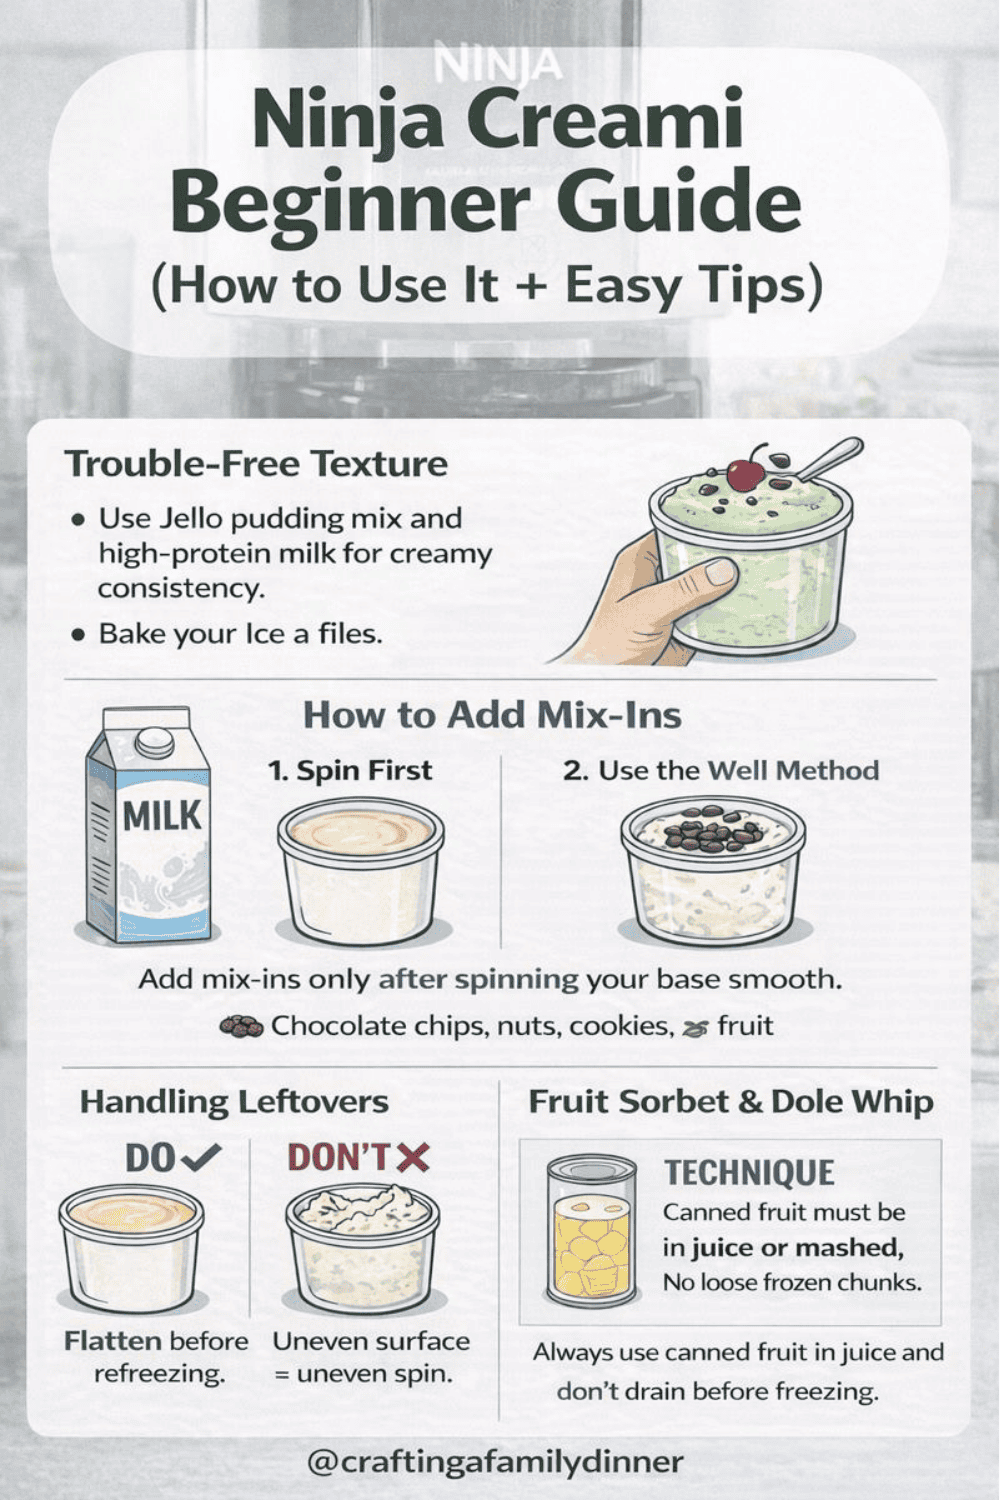
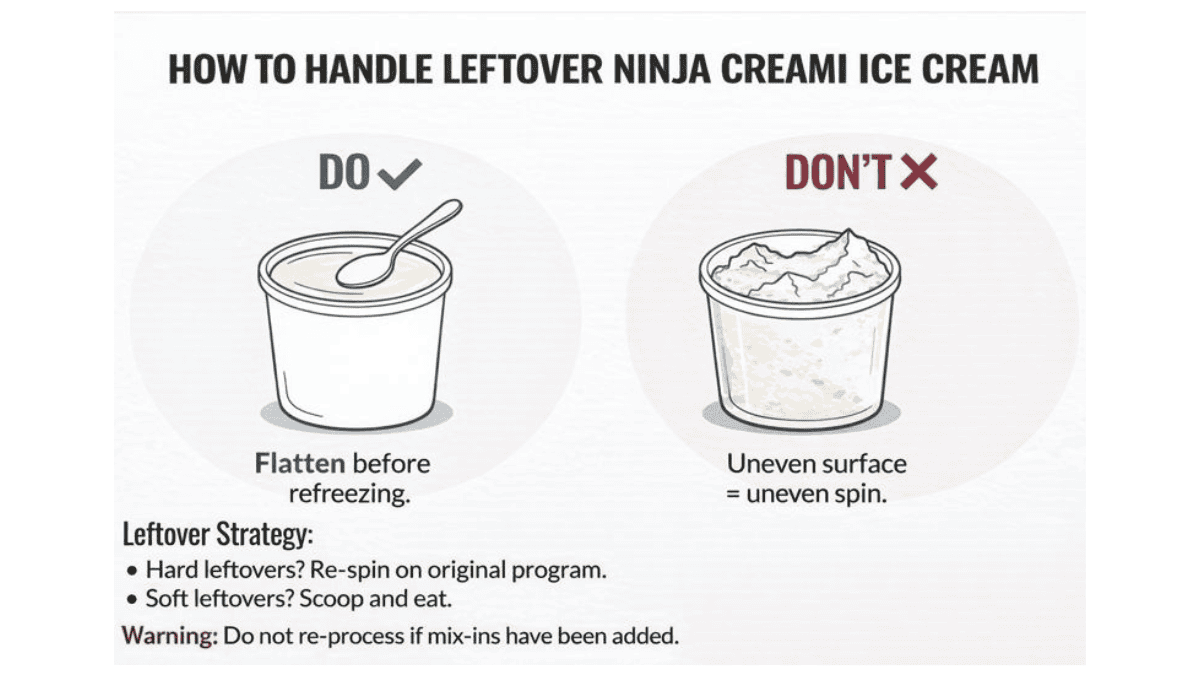
How to Handle Leftover Ninja Creami Ice Cream
Before refreezing leftover ice cream, always smooth the surface flat so it spins evenly later, then only re-spin hard leftovers on the original program and avoid reprocessing once mix-ins have been added.
How to Clean the Ninja Creami
Cleaning is simple and quick. Always dry all parts completely before storing.
- Remove the blade and hand wash it with warm, soapy water
- Pints and lids are dishwasher safe
- If you notice residue or odor, soak parts in warm soapy or vinegar water
- Wipe the outside of the machine with a damp cloth
Is the Ninja Creami Worth It?
If you love ice cream and want control over ingredients, the Ninja Creami is absolutely worth it. Keeping extra pints frozen means you can have homemade ice cream ready in minutes, without planning ahead every time.
For me, it replaced store-bought ice cream and eliminated the frustration of traditional ice cream makers.
What to Make Next
Once you’re comfortable with the basics, the fun really begins. Here are some beginner-friendly Ninja Creami recipes to try next:
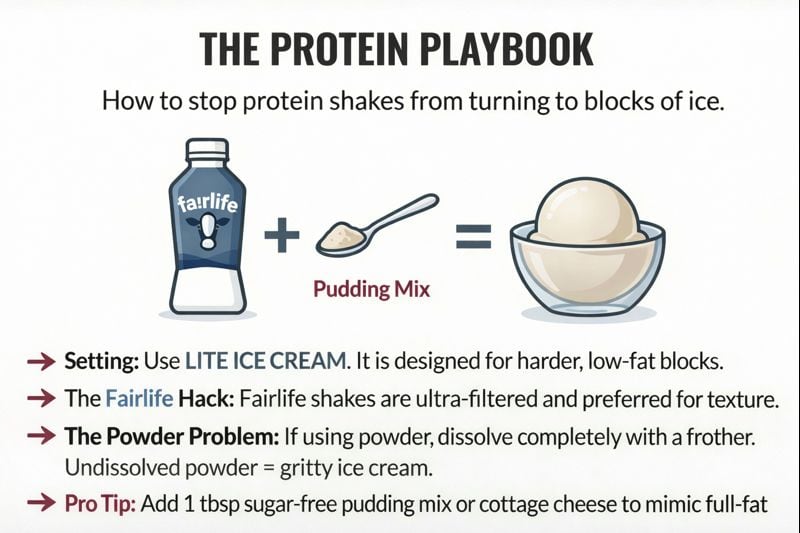
Pro Tip for Protein Ice Cream Beginners:
This simple trick keeps protein ice cream creamy instead of icy, even on your very first batch.
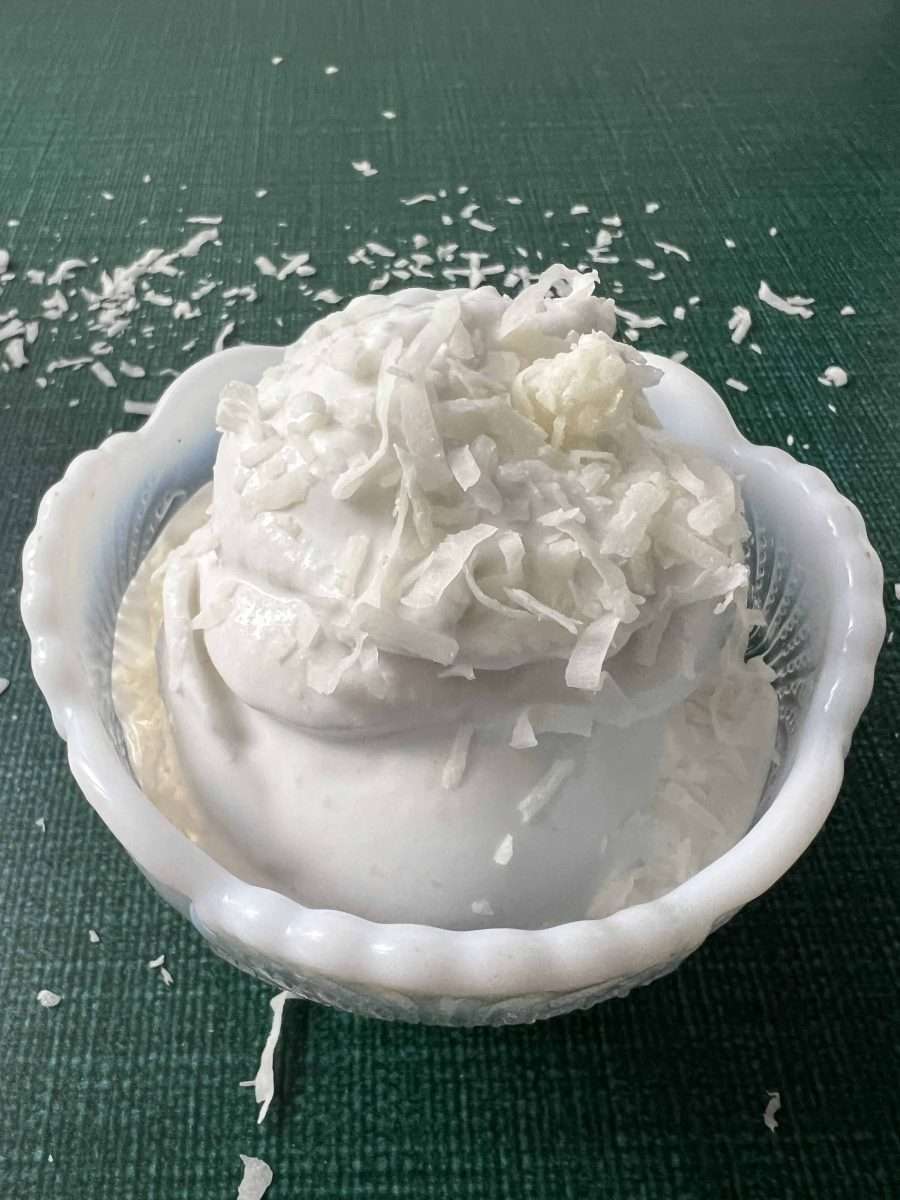
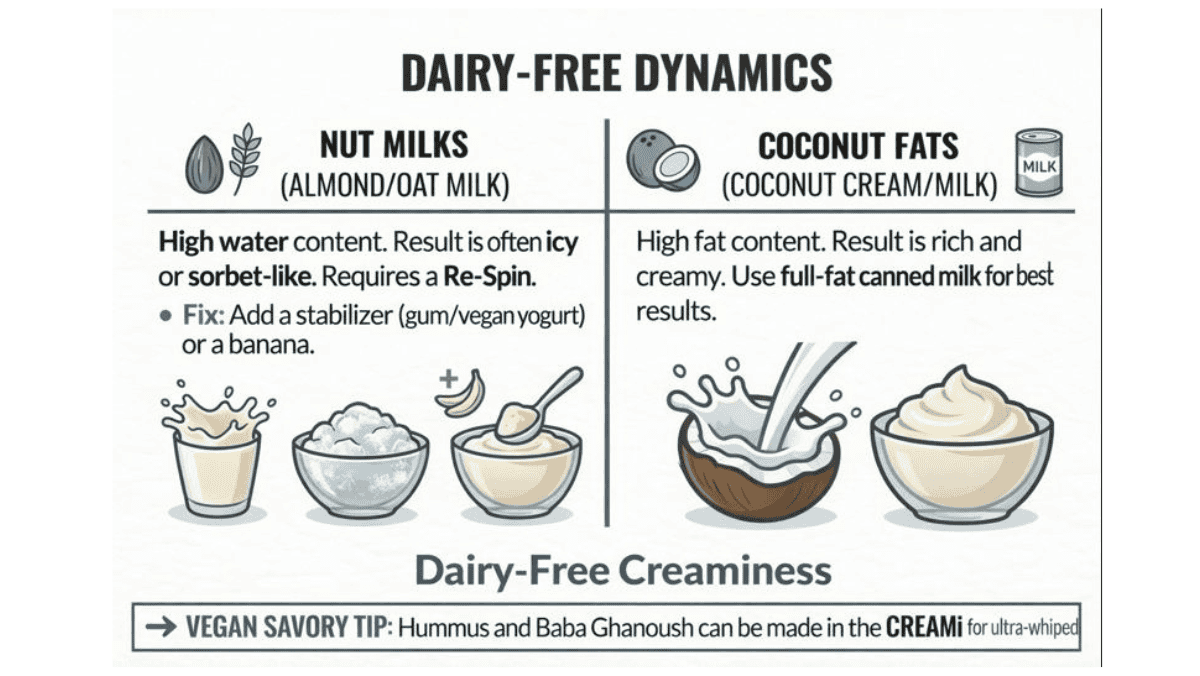
Making Creamy Dairy-Free Protein Ice Cream
Choosing coconut milk over nut milk helps prevent icy texture and makes dairy-free protein ice cream smoother and easier to scoop.
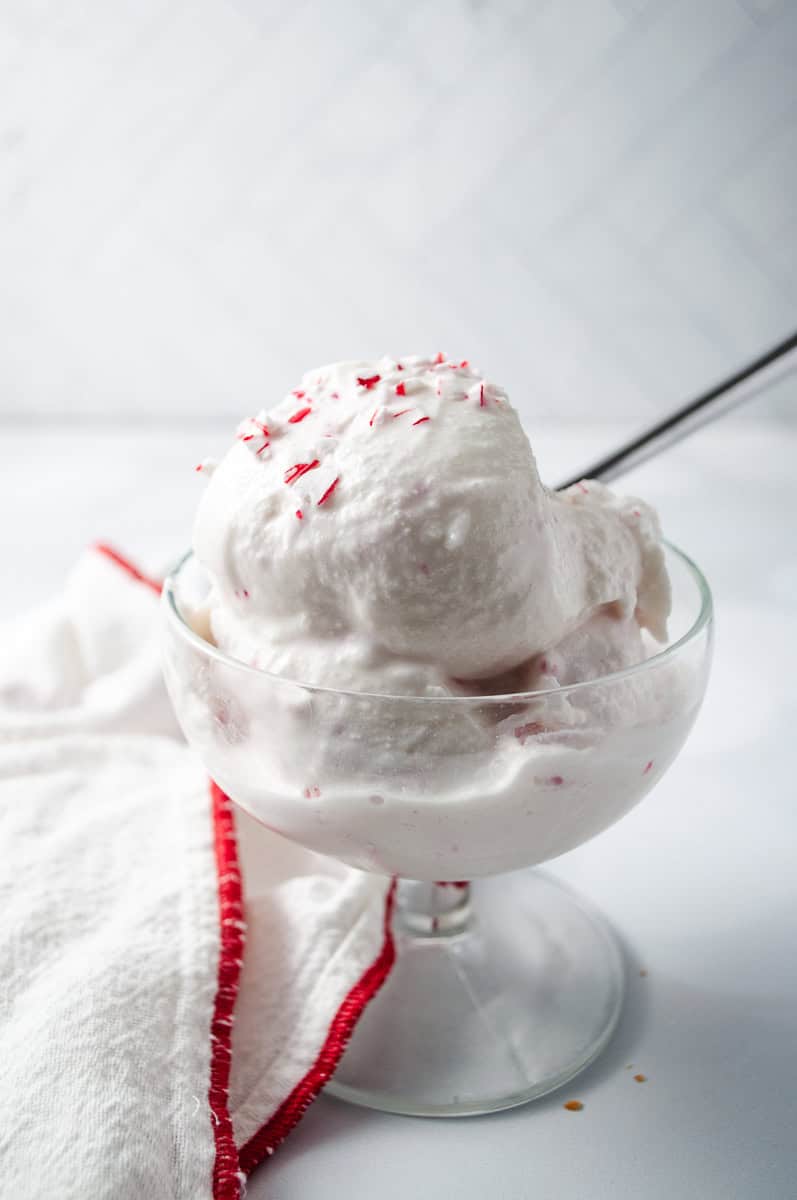
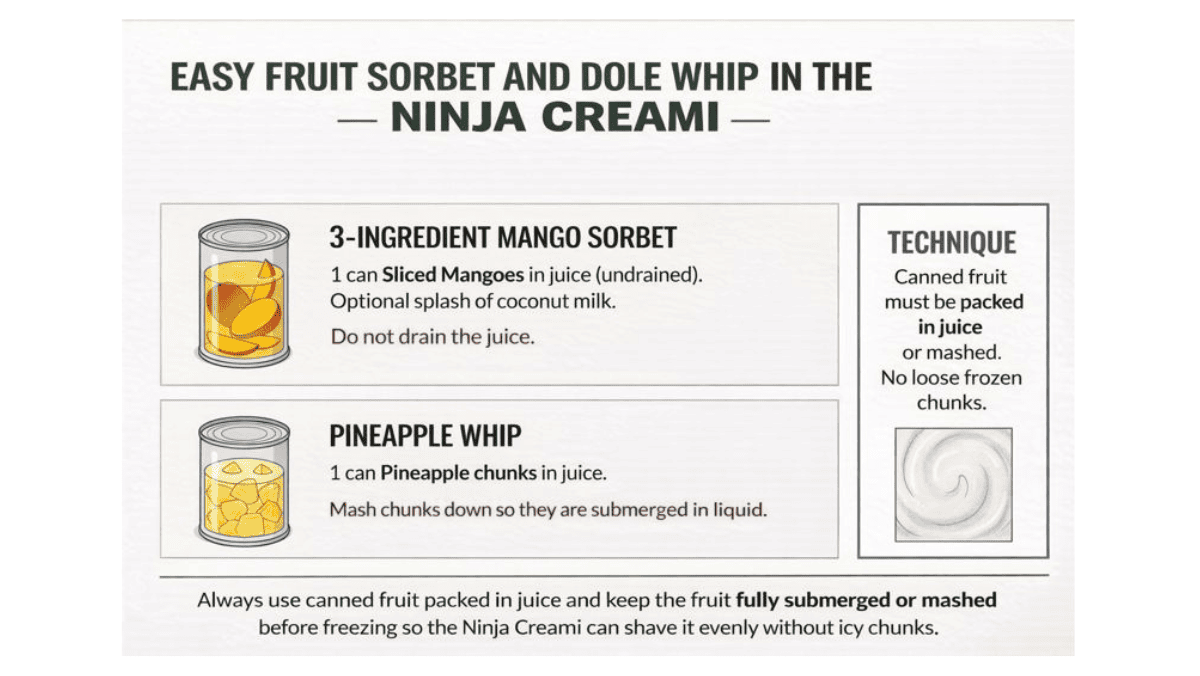
Easy Fruit Sorbet and “Dole Whip” in the Ninja Creami
For smooth sorbet or Dole Whip–style desserts, always use canned fruit packed in juice and keep the fruit fully submerged or mashed before freezing so the Ninja Creami can shave it evenly without icy chunks.
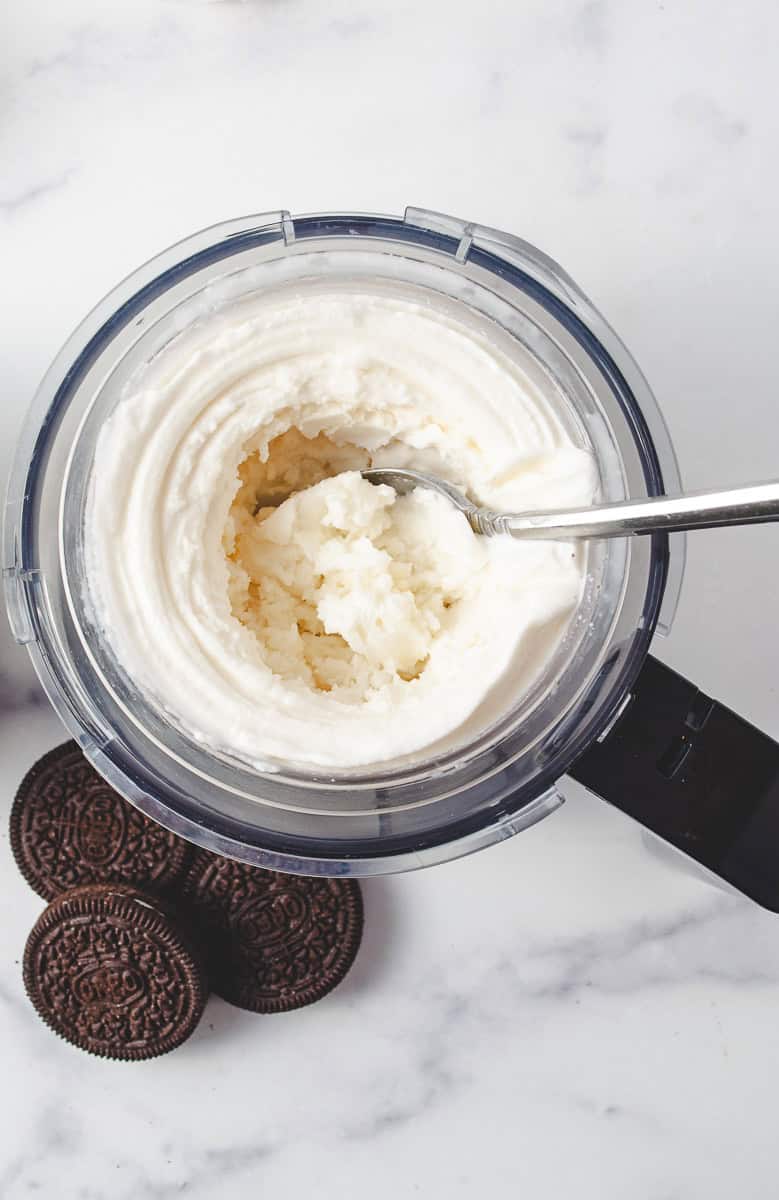
How to Add Mix-Ins Without Ruining Your Ice Cream
Always fully spin your base first, then use the well method and the Ninja Creami Mix-In program so chocolate chips, nuts, cookies, or fruit stay evenly distributed without getting crushed or blended into the ice cream.
Final Tip for Beginners
The Ninja Creami is forgiving, and most issues are fixed with it. Once you make a few pints, it becomes second nature.
- Freezing longer
- Re-spinning
- Small liquid adjustment
New to the Ninja Creami?
Get my free beginner email series with simple tips and easy recipes delivered over 14 days.
To Find This Post Later – Save to Pinterest