Ninja Creami Tips and Tricks

If your Ninja Creami ice cream ever turns out crumbly, powdery, or dry, you’re not alone. This is one of the most common beginner issues, and the good news is it’s usually an easy fix. With a little suggestion and some practice, you will have the most delicious homemade ice cream.
These Ninja Creami tips and tricks will help you understand why crumbly ice cream happens, how to fix it fast, and how to get smooth, creamy results every time.
This guide is meant to be saved and reused, whether you’re brand new to the Ninja Creami or already making recipes regularly.

Grab My Free Ninja Creami Conversion Chart!
Not sure how to convert your standard Ninja Creami recipes to the Deluxe? I made you a one-page cheat sheet with all the settings, sizes, and swaps in one place. Print it out and stick it on your fridge!
Free instant download — I’ll send it straight to your inbox.
Why Ninja Creami Ice Cream Turns Crumbly
Ninja Creami ice cream usually turns crumbly when the base is frozen very solid or doesn’t have enough fat or sugar to blend smoothly on the first spin. The pint can also be so hard that the machine just can not make it creamy on the first spin. This is common and easy to fix.
- The pint is extremely cold straight from the freezer.
- Low-fat or dairy-free bases need extra smoothing.
- The pint wasn’t rested before spinning. Let the pint sit out for 10 to 15 minutes depending on how hard your freezer freezes.
- The surface of the frozen pint wasn’t flat. If there is a lump, use a spoon and flatten the top.
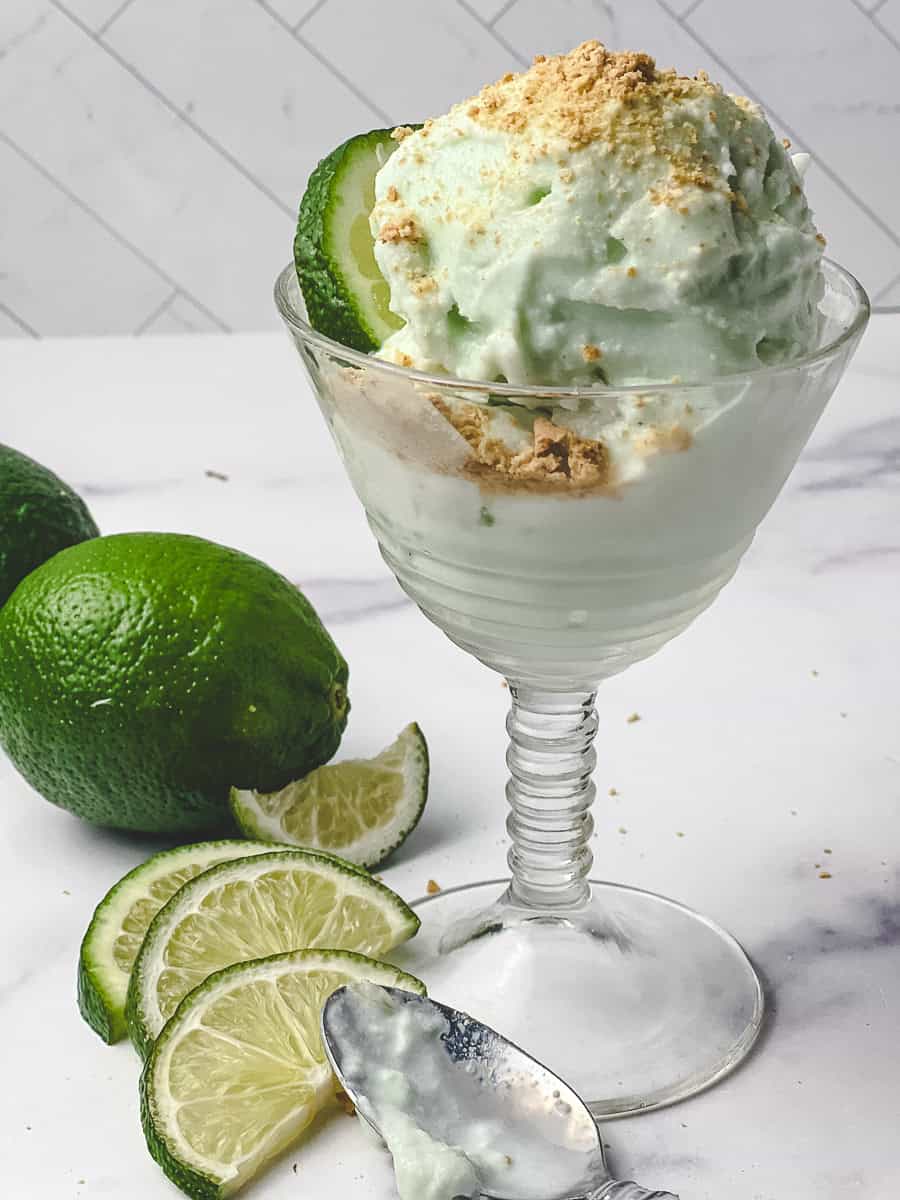
How to Fix Crumbly Ninja Creami Ice Cream
Crumbly ice cream is one of the most common Ninja Creami issues and is usually easy to fix. In most cases, the ice cream just needs additional blending. Crumbly ice cream is one of the most common Ninja Creami issues and is usually easy to fix. In most cases, the ice cream just needs additional blending.
- Place the pint back into the Ninja Creami.
- Press the Re-Spin button.
- Repeat once more if needed.
- Add 1–2 tablespoons of milk or half and half before re-spinning if the mixture looks dry.
- Do not do both of these at the same time. Start with a respin, and if still crumbly, add a little milk at a time.
Let the Pint Rest Before Spinning
If your freezer runs very cold, letting the pint rest helps the blade work more evenly and improves creaminess. This is especially helpful for low-fat or dairy-free recipes.
- Let the pint sit on the counter for 10–15 minutes.
- Run the outside of the pint under warm water for 30 to 60 seconds under warm to hot water.
- Focus on loosening the frozen edges, not melting the center.
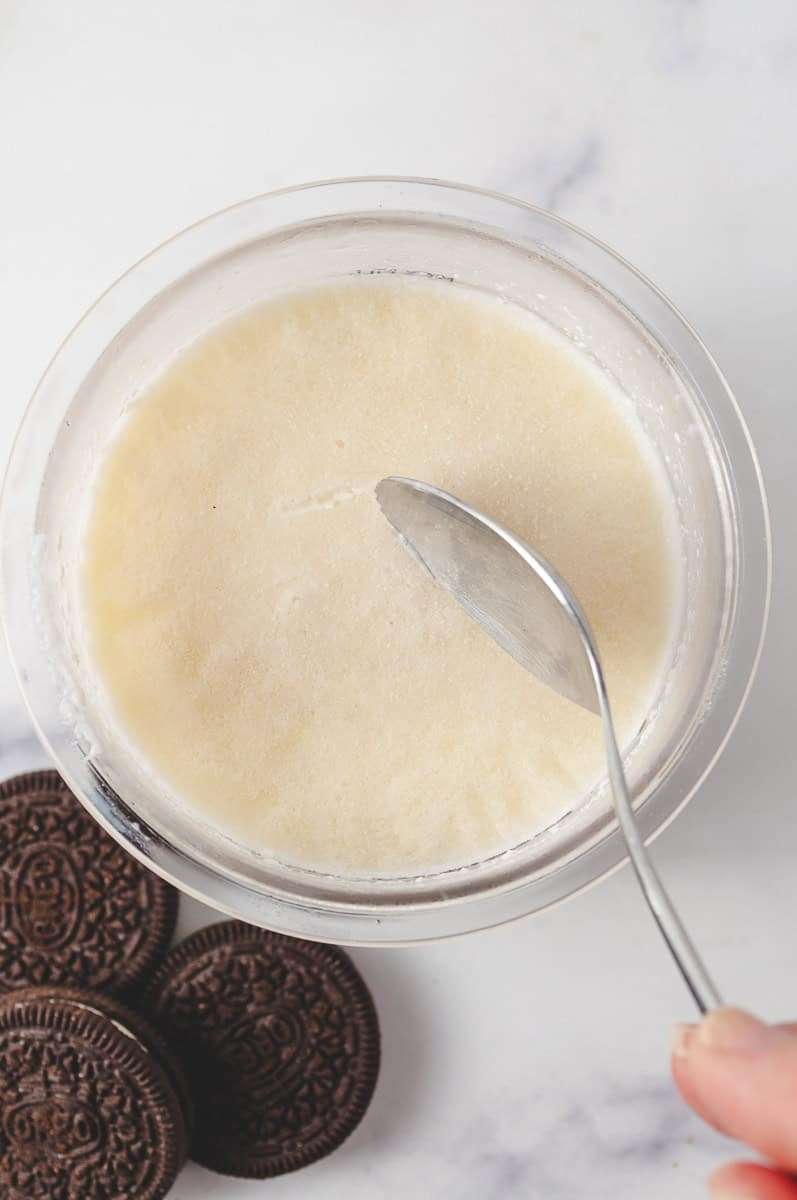
Always Start With a Flat Frozen Pint
A flat surface helps the Ninja Creami spin evenly and prevents texture issues. Starting with a flat pint leads to smoother results.
- Remove the lid before spinning.
- Check for bumps or domes on top of the frozen base.
- Scrape the surface flat with a spoon if needed.
When to Add Mix-Ins
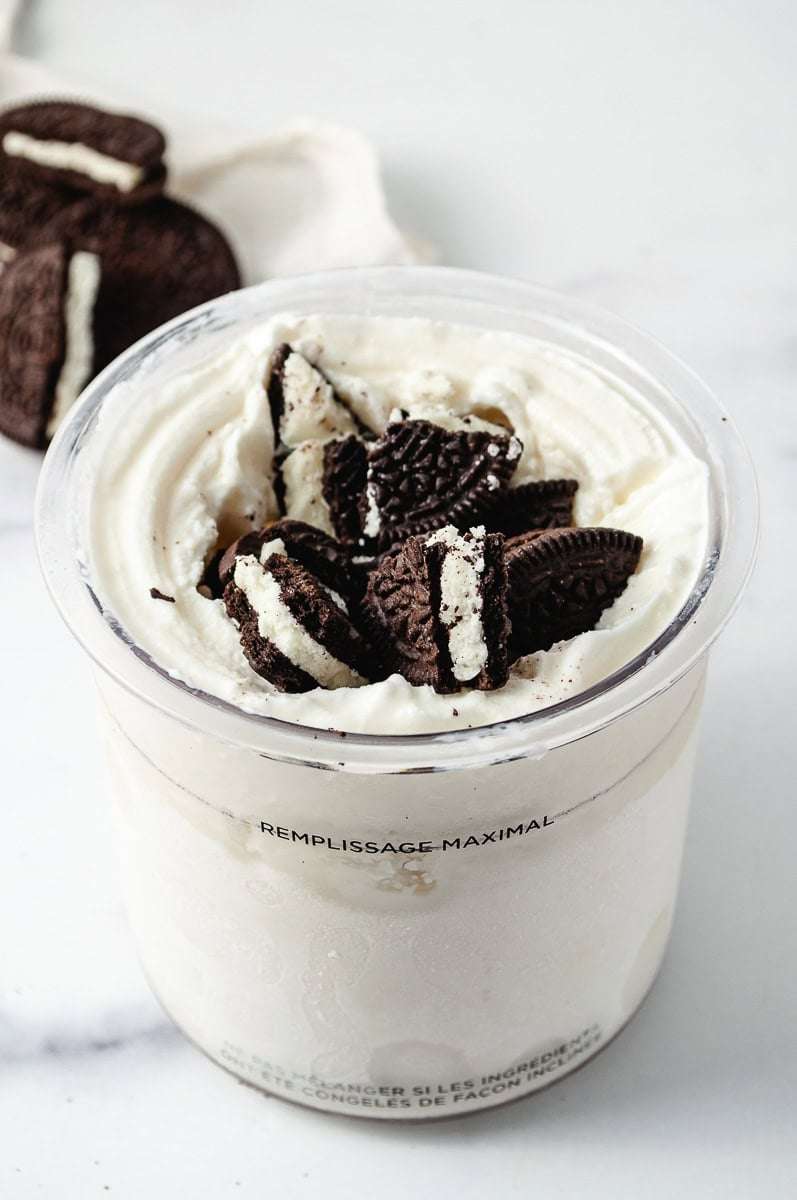
Mix-ins should always be added after the ice cream is already smooth. Adding mix-ins at the right time keeps the ice cream creamy instead of broken up.
- Spin the ice cream first. Respin if needed before adding the mix-ins.
- Make a small hole in the center.
- Add cookies, candy, nuts, or fruit.
- Use the Mix-In setting.
Use the Right Ninja Creami Setting
Choosing the correct setting helps prevent a crumbly texture and improves results. When unsure, start with Ice Cream or Lite Ice Cream.
- Ice Cream – best for full-fat or richer recipes.
- Lite Ice Cream – use for low-fat or dairy-free bases.
- Sorbet – ideal for fruit-based mixtures.
- Mix-In – adds chunks after spinning.
- Re-Spin – smooths texture anytime needed.
Keep the Ninja Creami Clean
Keeping the machine clean helps it perform well and prevents odors. Keeping the machine clean helps it perform well and prevents odors. Clean the lid after each use.
- Hand-wash the blade after each use.
- Wash the pints and lids with warm, soapy water or in the dishwasher on the top rack.
- Let all parts dry completely before storing.
- Take a warm, wet, soapy paper towel and wipe off the spool that spins the blade at the top of the machine. Then Dry off.
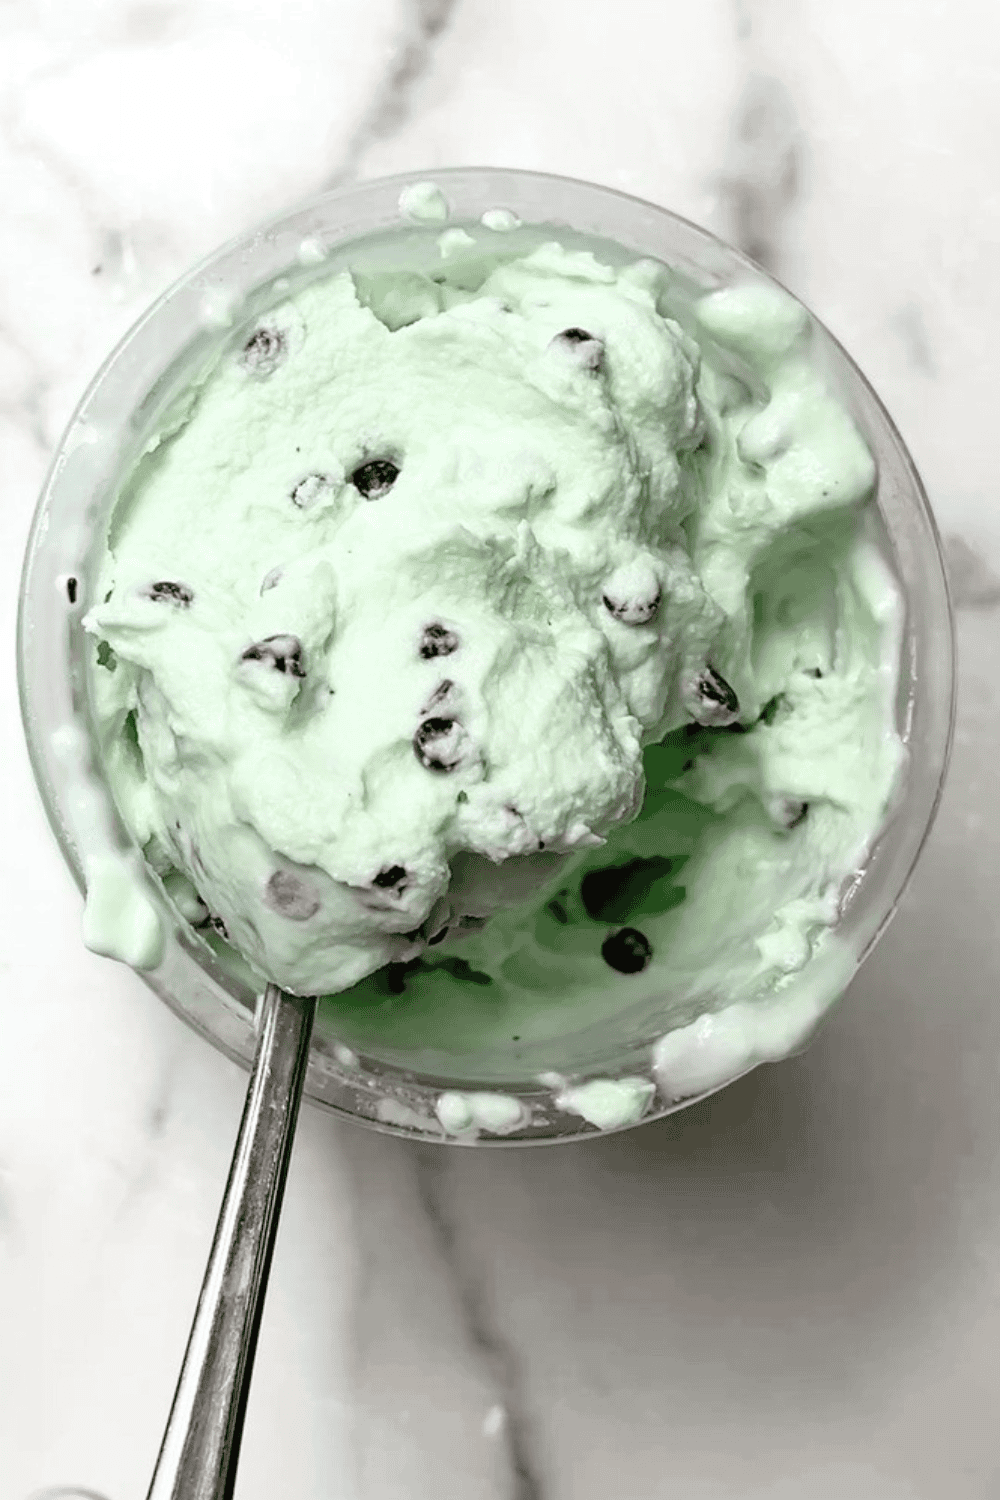
How Long to Freeze the Pint Before Spinning
A pint that is not fully frozen will never spin smooth. Give it the full time it needs before you even think about pressing a button.
I know it is tempting to rush things when the kids are already asking for ice cream. But a soft center is the number one reason people end up with soup instead of a scoop.
- Freeze the pint flat on a level shelf for at least 24 hours.
- Skip the door shelves, they run warmer than the back of the freezer.
- A brand new base usually needs longer than a pint you have frozen before.
- If the center still jiggles when you shake it, give it a little more time.
- Chest freezers and deep freezers tend to freeze harder and faster than a standard fridge freezer.
Filling the Pint to the Right Line
The fill line inside the pint is there for a reason. Add too much and you risk a mess, or a lid that will not stay put.
I learned this one the hard way with a thick peanut butter base that overflowed right onto my freezer shelf.
- Fill only to the max line stamped inside the pint.
- Leave a little extra room if you plan to add mix-ins later.
- Thick bases, like anything with peanut butter, should sit even lower than the line.
- Wipe the rim clean before locking on the lid so it seals properly.
- Overfilling is one of the most common reasons a pint overflows during the spin.
Protein Powder Tips for a Smoother Scoop
Protein powder is the number one reason a Ninja Creami turns out gritty or sandy instead of smooth. The powder does not always dissolve all the way, especially if you mix it in cold. But Protein ice cream can be a great alternative if you love ice cream and watching your weight.
I always blend my protein bases well before they go in the freezer, and I have found the type of powder makes a real difference too.
- Choose a whey isolate over a whey concentrate, it dissolves more smoothly. Pick a protelin powder that has clean ingredients. I buy Clean Simple Eats Protein Powder and feel it is the best I have tried.
- Look for a powder labeled micronized or ultra fine
- Blend the base until it looks completely smooth, with no clumps sitting on top
- Give it a second spin if the texture still feels sandy after the first one
- A spoonful of Greek yogurt can help smooth out a chalky protein base
Sugar Free Sweetener Swaps and How They Change Texture
Sugar does more than sweeten your ice cream, it also keeps the base soft enough to scoop. Swap it out for a sugar free option, and the texture can behave a little differently. However, using a sugar substitute can make eating ice cream daily healthy.
I have made plenty of sugar-free batches for family members watching their sugar, and allulose has been my favorite by far.
- Allulose freezes the softest and behaves the most like real sugar.
- I use this Monk Fruit and do not have any problems.
- Stevia and monk fruit blends can freeze harder and may need an extra re-spin.
- A small splash of milk or cream before spinning helps loosen up a stiff sugar-free base.
- Start with the same amount called for in the recipe and adjust the sweetness from there.
- Combining two sweeteners often gives a better texture than using just one.
Storing Leftover Ice Cream in the Freezer
Homemade ice cream does not have the stabilizers that store bought pints do, so leftovers need a little extra care. The goal is keeping air and ice crystals away from the surface. I always press something directly onto the ice cream before the lid goes back on, and it really does make a difference the next time we dig in.
- Press a piece of parchment or plastic wrap right onto the surface before the lid.
- Keep the lid on tight to block out extra air.
- Eat leftovers within about a week for the best texture.
- Expect to re-spin leftovers, they refreeze harder than they were the first time.
- Store the pint toward the back of the freezer, not in the door.
Batch Prepping Several Pints at Once
Once you get the hang of the Ninja Creami, it is worth making more than one base at a time. It saves you from washing the blender every single night. I like to set aside one afternoon, usually when I am already in the kitchen anyway, and freeze a handful of pints for the week ahead.
- Make a few bases at once on a day you already have the ingredients out.
- Label each pint with the flavor and the date you froze it.
- Stick to one flavor family per batch so you are not chasing down different mix-ins.
- Only spin what you plan to eat within the week for the best texture.
- Store extra pints toward the back of the freezer where the temperature stays the most steady.
Final Tip for Beginners
Most Ninja Creami texture issues are normal and easy to fix once you know what to look for. After a few batches, these steps become second nature.
- Freeze the pint long enough
- Let it rest before spinning
- Use re-spin when needed