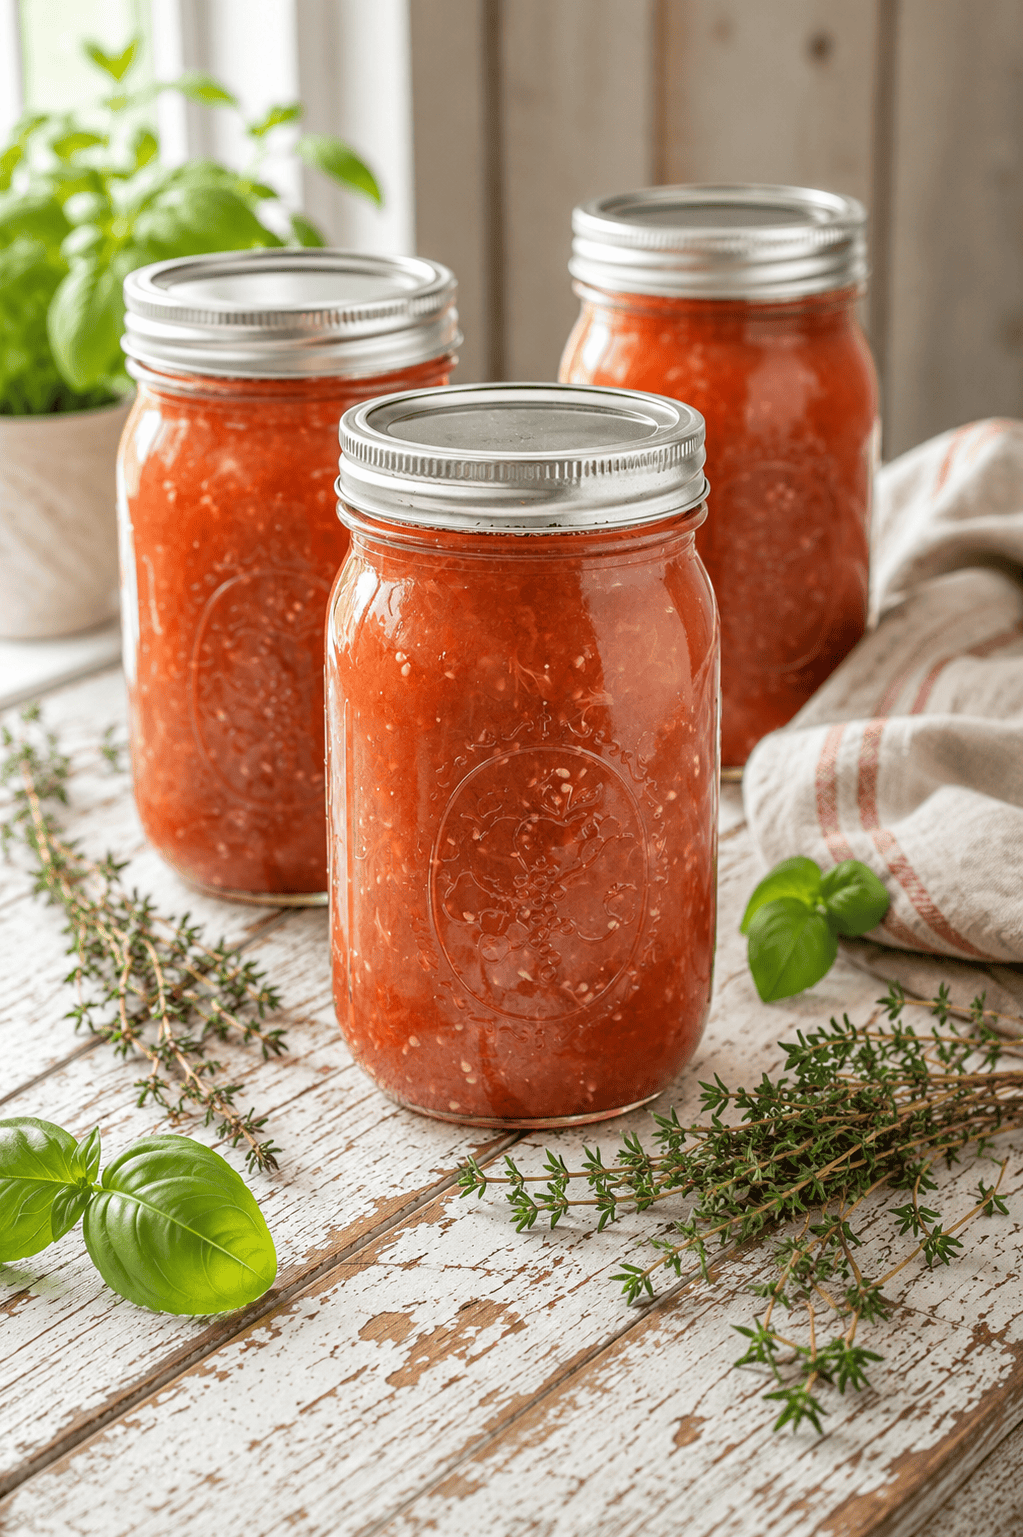
Canning Stewed Tomatoes: Easy Water Bath Method
Every August, our kitchen smells like tomatoes all day long. It’s one of my favorite weeks of the year, and it’s easier than you think. The results are so worth it.
Using the water bath canning method, you can preserve tomatoes straight from your garden or a local farmers’ market and enjoy that fresh summer flavor all year long.
This is the Buonpane family recipe we’ve been making for over 100 years, starting with heirloom tomato seeds brought from Italy by Jim’s grandparents. Now we’re sharing every step with you.

Why You’ll Love This Recipe
- No special canning experience needed. If you can boil water, you can do this.
- Garden-fresh flavor all winter long. Store-bought canned tomatoes don’t come close.
- A 100-year-old family tradition worth passing down to your kids.
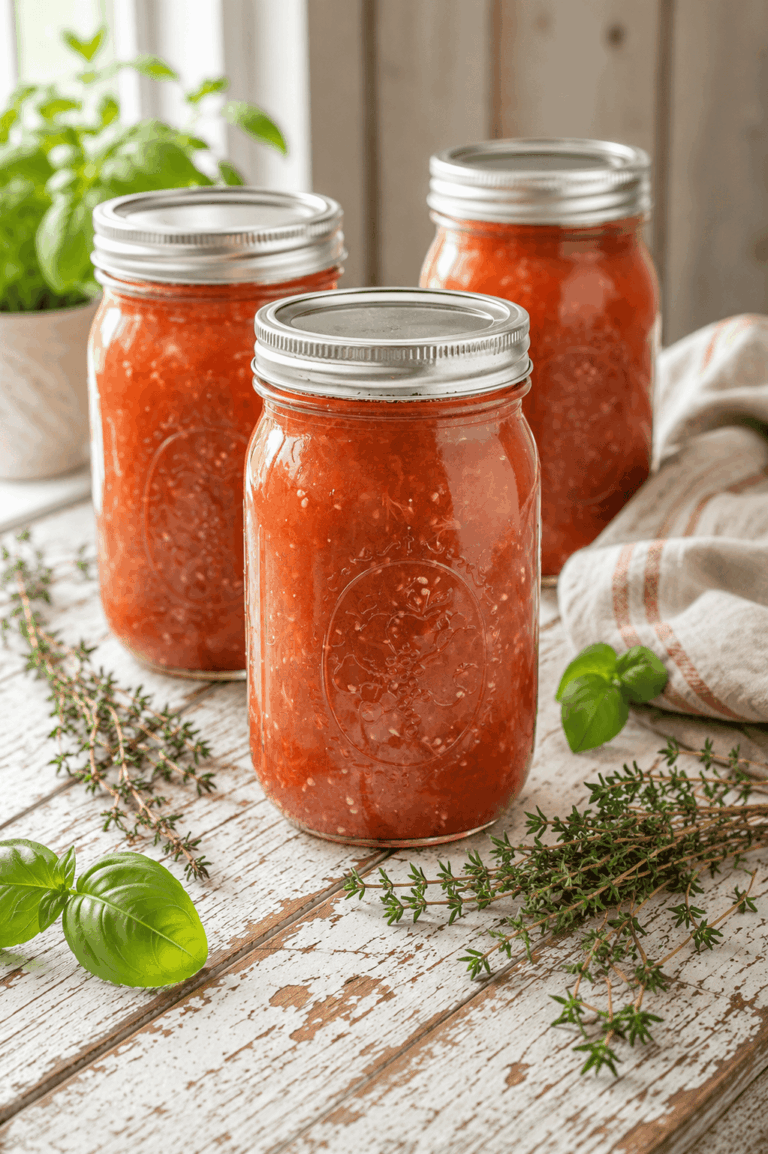
- One batch makes 8 to 10 quart jars. Stock the pantry in one afternoon.
- Properly sealed jars last for 2 to 3 years on the shelf.

The Buonpane Family Canning Tradition
Jim’s father grew up in an Italian family that brought heirloom tomato seeds from Italy generations ago. When Jim’s parents, Guerin and Grace, got married, Guerin planted those seeds in their Beachwood, Ohio, garden.
Growing up Jim’s family loved to garden and especially to grow their own fresh tomatoes. This is a tradition in many Italian families and Jim’s father’s family was not different. Jim’s mother’s family, Grace Ross, was clean and tidy and always trying to be very thrifty.
Grace started canning those tomatoes the way her mother did before her. It saved money on the food bill and kept the table full all winter long.
When Jim and I got married, his dad saved seeds from his garden and gave them to us for our own yard. Those seeds connect us to generations of family who came before. We started canning within two years of our wedding and have never stopped.
Now our kids have wanted to learn, and we have had so much fun teaching this life skill to them. I hope this tradition finds a place in your kitchen, too.
If canning runs in your family, too, you might love our Piccalilli Green Tomato Relish and Canning Italian Hot Peppers, two more recipes we make every single summer.

Passing Down the Tradition of Canning Fresh Tomatoes to Our Children
When Jim and I got married, one of Jim’s favorite memories was gardening with his dad. His dad saved seeds from the Italian tomatoes from his garden to give to Jim for our new garden. These seeds are so special as they bind the generations together year after year.
Shortly after our yard was established at our new home, we started a garden. By August, we were harvesting a bumper crop of tomatoes. Jim and I quickly learned all his mother’s canning tricks and began canning tomatoes within two years of our marriage.
To this day, we continue the tradition Jim cherished of helping his mother each year. Our children and I adore canned tomatoes, using them to create delicious Italian tomato sauce that brings the taste of tradition to our meals.
Jim’s Sister Anita’s Memories of the Garden and Canning
Memories of the Garden
My dad dug for days to break the soil down to the right consistency. Then he would take a small rake and break up the clumps that were left. The soil was brought to a fine particle dirt consistency, and then the planting began.
The bigger garden always consisted of Roma tomatoes, peppers, and a few beefsteak or big boy tomato plants. The smaller garden was planted with several types of lettuce, with some arugula.
Memories of Canning
My mom and dad purchased bushels of tomatoes for canning at the local farmers market so that they could supplement what they grew in their garden and produce an adequate supply of canned tomatoes for the next year. They brought the tomatoes home and carefully placed them in the sink to be blanched with boiling water. I have memories of my mom carefully warning us to stay away while she was pouring the boiling water over the tomatoes.
The blanching process was short and helped to start the tomato skinning process. My sister and I helped my mom to fully skin all of the tomatoes, and my mom would cut the tomatoes up for the canning kettle. When the kettle was full, it was placed on the stove to cook down for several hours.
While the tomatoes were cooking, the mason jars, rubber rings, and lids were in another kettle boiling as part of the sanitation process. When the tomatoes were ready, they were ladled into the mason jars, the rims wiped clean, and the rubber rings and lids placed on top. The final step of fully tightening the mason jar lids was completed by my dad so that they were airtight and there would be no possibility of any contamination.
I hope you find the time to experiment with canning tomatoes from your garden or ones from the local farmers’ market.
Ingredients You’ll Need
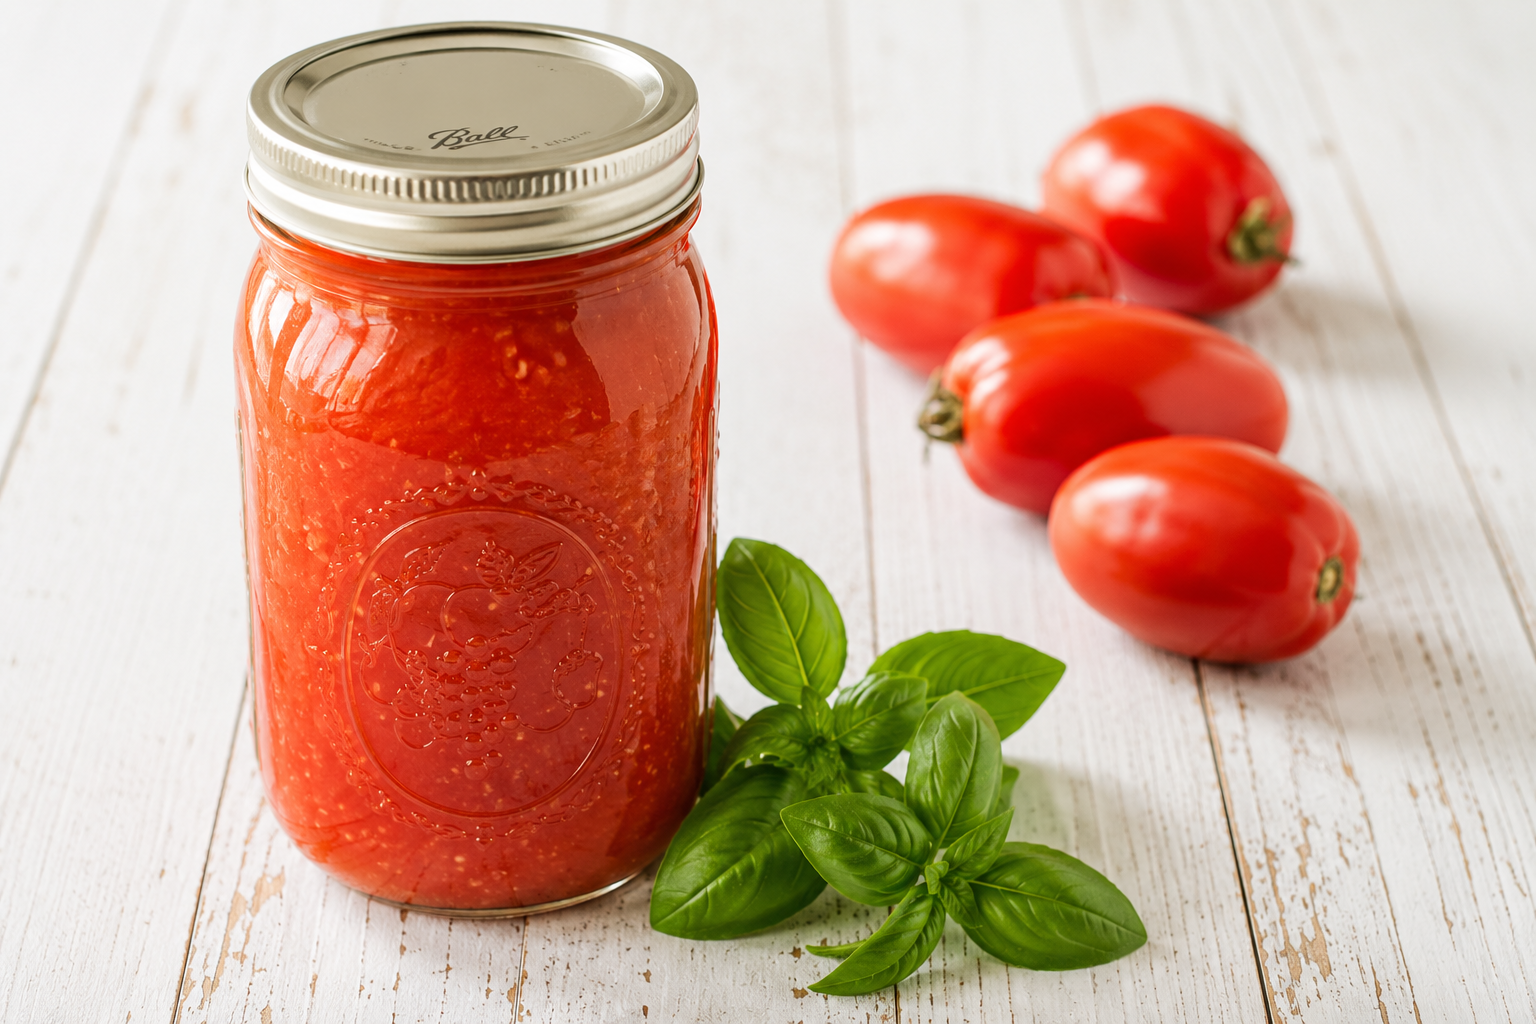
- 1/2 bushel ripe Roma or heirloom tomatoes (fresh from the garden or a local farmers market)
- 3 tablespoons canning salt
- 2 tablespoons of bottled lemon juice per quart jar
Note on lemon juice: Always use bottled lemon juice, not fresh squeezed. The acidity in bottled juice is consistent, which is what makes the water bath canning method safe.
This post contains some affiliate links for your convenience (which means if you make a purchase after clicking a link, I will earn a small commission, which helps keep my blog up and running, but it won’t cost you a penny more)! Click here to read my full disclosure policy.
Equipment Needed
- Ball Canning Jars quart size (8 to 10 jars)
- Lids & Rims (rims can be reused; always use new lids)
- Large Canning Pot
- Large Stock Pot for Boiling Water and cooking the tomatoes
- Ball Secure-Grip Jar Lifter (a must)
- Canning Funnel
- Medium pot for blanching and sterilizing lids
- Jar lifter (this is a must, do not skip it)
- Slotted spoon
- Sharp knife
How to Can Stewed Tomatoes: Step-by-Step
- Sterilize your jars. Run your canning jars through the dishwasher on a hot cycle. Keep them warm until you’re ready to fill. Tip: Cold jars can crack when you fill them with hot tomatoes. Keep them in the dishwasher until the last minute. Jim’s family only used Ball Canning Jars, so we have continued that tradition. Ball Canning Jars last a lifetime, and we have hundreds of jars that were his parents’ that we still use.
- Wash and sort your tomatoes. Rinse all tomatoes well and cut away any soft spots or damaged sections.
- Blanch to remove the skins. Bring a medium pot of water to a rolling boil. Lower 4 to 5 tomatoes in at a time and let them sit for about 2 minutes. Don’t crowd the pot, or the water temperature drops.
- Peel and chop. Lift tomatoes out with a slotted spoon and hold them under cold running water. The skins will slip right off. Cut away the core and chop into large chunks. Add to your large stockpot. Tip: Get a rhythm going, blanch a batch while you peel the last one. It goes faster than you think.
- Cook the tomatoes down. Once all the tomatoes are in the stockpot, add 3 tablespoons of canning salt. Bring to a boil and cook for 40 to 50 minutes. You want them to reduce by about an inch and a half, and most of the extra water to cook off.
- Sterilize your lids. While the tomatoes cook, bring a small pot of water to a boil. Add lids and rims and let them sit until you’re ready to use them.
- Fill the jars. Set your clean jars on a towel. Using a canning funnel, ladle hot stewed tomatoes into each jar. Leave 1 inch of headspace from the top.
- Add bottled lemon juice. Add 2 tablespoons of bottled lemon juice to each quart jar. This raises the acidity to a safe level for water bath canning.
- Wipe and seal. Wipe each jar rim clean with a damp cloth. Use tongs to place a hot lid on each jar, then screw on the rim firmly with a hot pad.
- Water bath for 30 to 35 minutes. Place sealed jars into your large canning pot. Cover with water by at least 1 inch. Bring to a full boil and process for 30 to 35 minutes.
- Remove and listen for the pop. Carefully lift the jars out with your jar lifter and set them on a towel on the counter. Listen for the lids to pop as they seal. The center of the lid will be depressed when properly sealed. Depression in the lid ensures that the canning process has been completed and the jars have a sterilized vacuum.


How Long Do Home-Canned Stewed Tomatoes Last?
Properly sealed jars will keep for 2 to 3 years stored in a cool, dark place.
Before opening any jar, press the center of the lid. It should feel depressed and firm. If it pops up, the seal has been broken, and you should not use that jar.
When you open a jar, the tomatoes should smell fresh and clean. When in doubt, throw it out.
What to Make With Home-Canned Stewed Tomatoes
The canned fresh garden tomatoes are used for sauce throughout the fall and winter months. These tomatoes work in so many recipes. Here are some of our favorites:
- Spaghetti sauce for pasta – for a thicker sauce, add tomato paste.
- Homemade tomato sauce
- Pizza Sauce
- Tomato Soup
- Spaghetti and meatballs
- Soup recipes
- Stuffed green tomatoes
- Stuffed Cabbage
- Ratatouille
- Veggie stir fry
- Lasagna
- Corn Meal Mush
If you are stocking your pantry with homemade preserves, our Easy Homemade Refrigerator Dill Pickle Recipe and Easy Canning Corn Relish are two more family favorites worth adding to your list.
Variations
- Italian seasoned: Tuck a fresh basil leaf and a small garlic clove into each jar before sealing for extra flavor right in the jar.
- Add peppers: Stir diced green or red pepper into the tomatoes while they cook. It adds a nice depth to the finished sauce.
- Chunky vs. smooth: For a smoother texture, crush the tomatoes more as they cook down. For chunky, leave them in larger pieces.
- No-salt version: Skip the canning salt if you’re watching sodium. The bottled lemon juice still provides the acidity needed for a safe water bath.
Frequently Asked Questions
A: Roma tomatoes work best because they’re meatier and have less water. Any ripe garden tomato will work, but you may need to cook them down a bit longer if they’re juicier varieties like beefsteak.
A: Yes. The bottled lemon juice raises the acidity to a safe level for water bath canning. Always use bottled, not fresh-squeezed, so the acidity is consistent every time.
A: Check the lid before opening. It should be depressed and firm. If the center pops up when you press it, do not use that jar. When you open it, the tomatoes should smell fresh and clean. When in doubt, throw it out.
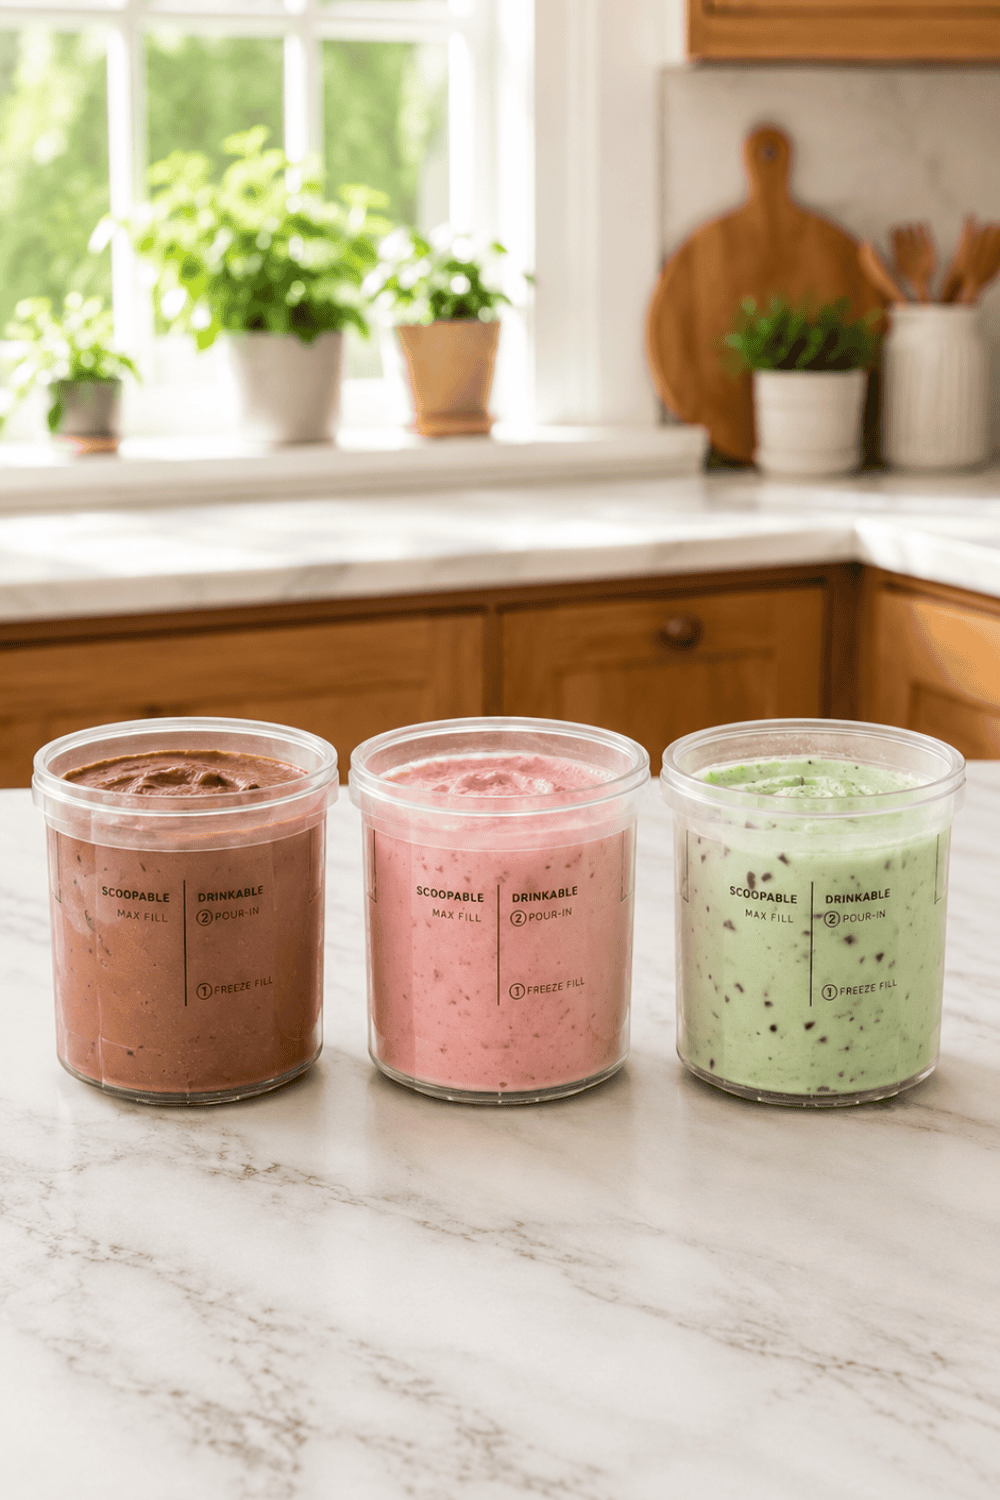
A: Yes! Let the stewed tomatoes cool completely, then pour into freezer-safe bags or containers. They keep well in the freezer for up to a year. This is a great option if you’re just getting started and don’t have all the canning equipment yet.
Canning Stewed Tomatoes: Easy Water Bath Method
This is the recipe Jim’s Italian family has been making for over 100 years, starting with heirloom tomato seeds brought from Italy. A half-bushel of fresh garden tomatoes, a few simple steps, and you’ll have 8 to 10 quart jars of delicious stewed tomatoes to enjoy all winter long. The water bath canning method is safe, beginner-friendly, and incredibly rewarding.
- Total Time: 2 hours 15 minutes
- Yield: 28 1x
Ingredients
- 1/2 bushel ripe Roma or heirloom tomatoes (fresh garden or farmers market)
- 3 tablespoons canning salt
- 2 tablespoons of bottled lemon juice per quart jar
Instructions
1. Run canning jars through the dishwasher on a hot cycle. Keep warm until ready to fill.
2. Rinse tomatoes and trim away any soft or damaged spots.
3. Bring a medium pot of water to a rolling boil. Lower 4 to 5 tomatoes in at a time and blanch for 2 minutes.
4. Remove with a slotted spoon. Under cold running water, slip off the skins and remove the core. Chop into large chunks and add to a large stockpot.
5. Add 3 tablespoons of canning salt to the stockpot. Bring to a boil and cook for 40 to 50 minutes, until tomatoes reduce by about 1.5 inches.
6. While tomatoes cook, bring a small pot of water to a boil and sterilize lids and rims.
7. Using a canning funnel, ladle hot stewed tomatoes into warm jars, leaving 1 inch of headspace.
8. Add 2 tablespoons of bottled lemon juice to each quart jar.
9. Wipe jar rims clean with a damp cloth. Apply sterilized lids with tongs and screw on rims firmly.
10. Place sealed jars in the water bath canning pot and cover with at least 1 inch of water. Bring to a full boil and process for 30 to 35 minutes.
11. Lift jars out with a jar lifter and set on a towel to cool. Listen for the lids to pop. The center should be depressed when sealed.
Notes
- Always use bottled lemon juice, not fresh-squeezed. The consistent acidity is what makes water bath canning safe.
- Any jar that does not seal within 24 hours should be refrigerated and used within one week.
- Properly sealed jars keep for 2 to 3 years stored in a cool, dark place.
- This recipe makes approximately 8 to 10 quart jars, depending on the size of your tomatoes.
- Prep Time: 1 hour
- Cook Time: 1 hour 15 min
- Category: Canning
- Method: Stovetop
- Cuisine: American
Nutrition
- Serving Size: 1 serving
- Calories: 92
- Sugar: 13.4 g
- Sodium: 4740.7 mg
- Fat: 1 g
- Carbohydrates: 20.2 g
- Fiber: 6 g
- Protein: 4.4 g
- Cholesterol: 0 mg

Buonpane Spaghetti Sauce
Once you have your canned tomatoes, this is the sauce you’ll make on repeat. Simple, rich, and genuinely delicious.
- Heat 2 to 3 tablespoons of olive oil in a large saucepan over medium heat.
- Add one medium onion, chopped fine, along with one green or red pepper, diced.
- Cook until softened, about 8 to 10 minutes. The longer they cook, the richer the flavor.
- Add 1 to 2 cloves of minced garlic, 1 tablespoon dried basil, and 1 tablespoon dried oregano. Stir and cook 2 more minutes.
- Pour in 1 to 2 jars of your home-canned stewed tomatoes.
- Add one small can of tomato paste for a thicker sauce. Season with salt and pepper.
- Simmer for 10 to 15 minutes, stirring occasionally.
Optional add-ins: A tablespoon of brown sugar balances the acidity beautifully. You can also add cooked sausage or meatballs (note: these make it no longer vegetarian).
Print
Vegetarian Spaghetti Sauce
This is the spaghetti sauce Jim’s Italian family has been making for generations, and it starts with home-canned stewed tomatoes from the garden. Simple ingredients, a slow sauté, and a rich sauce that makes the whole house smell amazing. It’s the sauce our family asks for every single week.
- Total Time: 50 minutes
- Yield: 6 servings 1x
Ingredients
- 2 to 3 tablespoons of olive oil
- 1 medium onion, chopped
- 1 green pepper, chopped
- 1 to 2 cloves of garlic, chopped
- 1 tablespoon of dried basil
- 2 teaspoons of dried oregano
- 1 jar of homemade garden canned stewed tomatoes (recipe above)
- 1 can of tomato paste
- Salt and pepper to taste
Optional:
- 1 tablespoon brown sugar (balances acidity)
- Cooked sausage or meatballs (makes it no longer vegetarian)
Instructions
1. Heat olive oil in a large saucepan over medium heat.
2. Add the chopped onion and diced pepper. Cook for 8 to 10 minutes, stirring occasionally, until softened. The longer they cook, the richer the flavor.
3. Add the minced garlic, dried basil, and dried oregano. Stir and cook for 2 more minutes.
4. Pour in 1 to 2 jars of homemade canned stewed tomatoes. Stir to combine.
5. Add the tomato paste for a thicker sauce. Season with salt and pepper.
6. Simmer uncovered for 10 to 15 minutes, stirring occasionally, until the sauce reaches your desired consistency.
7. Taste and adjust seasoning. Add a tablespoon of brown sugar if the sauce tastes too acidic.
Notes
- The longer you cook the onions, peppers, and garlic, the deeper and richer the sauce flavor. Don’t rush this step.
- For a thicker sauce, add a full small can of tomato paste. For a thinner sauce, use just half.
- Leftover sauce keeps in the refrigerator for up to 5 days or freezes for up to 3 months.
- Add cooked sausage or meatballs to make a meat sauce. These additions make it no longer vegetarian.
- Prep Time: 20 minutes
- Cook Time: 30 minutes
- Category: Dinner
- Method: stove top
- Cuisine: Italian

Jim’s Sister Anita’s Memories of the Garden and Canning
Memories of the Garden
My dad dug for days to break the soil down to the right consistency. Then he would take a small rake and break up the clumps that were left. The soil was brought to a fine particle dirt consistency and then the planting began.
The bigger garden always consisted of Roma tomatoes, peppers, and a few beefsteaks or big boy tomato plants. The smaller garden was planted with several types of lettuce with some arugula.
Memories of Canning
My mom and dad purchased bushels of tomatoes for canning at the local farmers’ market so that they could supplement what they grew in their garden and produce an adequate supply of canned tomatoes for the next year. They brought the tomatoes home and carefully placed them in the sink to be blanched with boiling water. I have memories of my mom carefully warning us to stay away while she was pouring the boiling water over the tomatoes.
The blanching process was short and helped to start the tomato skinning process. My sister and I helped my mom to fully skin all of the tomatoes and my mom would cut the tomatoes up for the canning kettle. When the kettle was full, it was placed on the stove to cook down for several hours.
While the tomatoes were cooking, the mason jars, rubber rings, and lids were in another kettle boiling as part of the sanitation process. When the tomatoes were ready, they were ladled into the mason jars, the rims of the mason jars wiped clean and the rubber ring and kids placed. The final step of fully tightening the mason jar lids was completed by my dad so that they were airtight and there would be no possibility of any contamination.”
I hope you find the time to experiment with canning tomatoes from your garden or ones from the local farmers’ market.
If you like this post on canning, you may want to read:
- Refrigerator Dill Pickle Recipe
- Piccalillli Canning Green Tomato Relish
- Canning Italian Hot Peppers
- Canning Easy Corn Relish


You have perfectly detailed everything that’s needed and it is very helpful to us especially to those who haven’t tried making this before. I would love to try your recipe in the future. Thanks for sharing at Fiesta Friday party!
Thank you so much, it is a lot of small steps but not that hard once you try it.
I canned tomatoes a few years back for a couple of summers. While I won’t get to do it again this year, I plan on canning home grown (not just farmers’ market ones) next summer. You gave meticulously wonderful detail for the canning process, and I really like the spaghetti sauce recipe you concluded with. Something to try for sure! Thanks for sharing with Fiesta Friday!
Thank you so much for your kind comment!
I have canned my share of tomatoes, beans, tons of fruit and made a lot of salsa. Even now I will make my pickled beets for my husband and I so much better than store bought cans.
Thank you for stopping by #OMHGWW to share your blog!
Hope you have a great week!
What an informative post! I haven’t yet dove into trying to can yet but tomatoes would be the first thing I would do! Thanks for linking up with us today at the To Grandma’s House you go link party 🙂 Pinned!
I just finished canning a bunch of tomatoes (and getting ready to can some more). They taste so much better than store bought. I am going to be trying your families sauce recipe. It sounds so good! Thanks for sharing at the Wednesday Showcase link party. Pinned!
Thank you so much for your kind comment. We canned tomatoes again with our daughter on Saturday and she made the sauce on Sunday and it came out great. I hope you enjoy your tomatoes you are so right they are so much better tasting.
This looks great and we just pulled a 5 gallon bucket of romas for canning tomorrow. I typically cold pack the tomatoes after peeling so I am anxious to try this. I noticed you do not add citric acid or lemon juice but still water bath rather than pressure can. Has that ever been an issue? Thanks for sharing and I can’t wait to try!
Thank you so much for your kind comment. You are so right, I forgot the lemon juice. I have corrected the post. I underlined it so my girls do not forget also. This is my husband’s mother’s method and he is the expert. Again thank you for reminding me that about the lemon juice. Good luck on your processing, 5-gallon bucket is a huge crop.
I moved to Northern California a couple of years ago and really hoped to have a garden in this year. I have to put up a fence to keep the dear out and just didn’t get that done. Top of my list for next year! Thanks for sharing your recipes and memories.
Thank you do much for your comment it is a great encouragement to hear from someone who likes to garden and can. We made new fences for our garden this spring and I do have pictures and will be writing a post on how we constructed taller fences that can easily have the sides removed and a gate for easy access. I do not know much about Northern California but we have the same deer problem. Thank you again, Susan