Easy Homemade Pie Crust in a Mini Food Processor

I have made our family’s traditional pie crust recipe for years. It is one of the best, but it takes some time and a lot of hand power with a pastry cutter to work the butter into the flour. It is delicious every time, and if you’re a traditionalist, give the family recipe a try.

As a little girl, I loved watching my mother make pie, and I loved eating it even more. I can still see her standing at the counter, pressing a fork around the edge of the crust to flute it.
She baked her pies until I was about in third grade, when she had a major health issue. I never did learn her recipe.
When I was first married, a wonderful neighbor gave me her pie crust recipe. She also taught me how to make the rippled, fluted edges that Jim’s mom always used. That is the recipe I still use today, and her pretty edges are still the ones I make.
I have seen several pie crust recipes made in a food processor. They look so quick and easy, but I do not have a big food processor. I also did not want to buy one, because I am sure, like you, I have limited space.
But I do have a mini food processor, so I worked out how to make a homemade pie crust in it.
Here is the one thing to know before you start. A mini food processor holds enough for one single crust, so this recipe makes one crust at a time.
Making a pie with a top and a bottom crust? Just make two batches, one right after the other. I made a batch again today to double-check every step for you.
I have my eye on this Ninja Full-Size Food Processor. I just have to find the space to store it.
Why You’ll Love This Mini Food Processor Pie Crust
- An easy pie crust recipe with only 5 simple ingredients you probably already have.
- No pastry cutter and no sore hands, the food processor does the work.
- Made for small kitchens, a 3.5 cup mini food processor is all you need.
- A flaky, all butter pie crust for sweet pies, quiche, and pot pie.
- You can make the dough ahead and keep it in the fridge or freezer.
This post contains some affiliate links for your convenience (which means if you make a purchase after clicking a link, I will earn a small commission, which helps keep my blog up and running, but it won’t cost you a penny more)! Click here to read my full disclosure policy.
Can You Make Pie Crust in a Mini Food Processor?
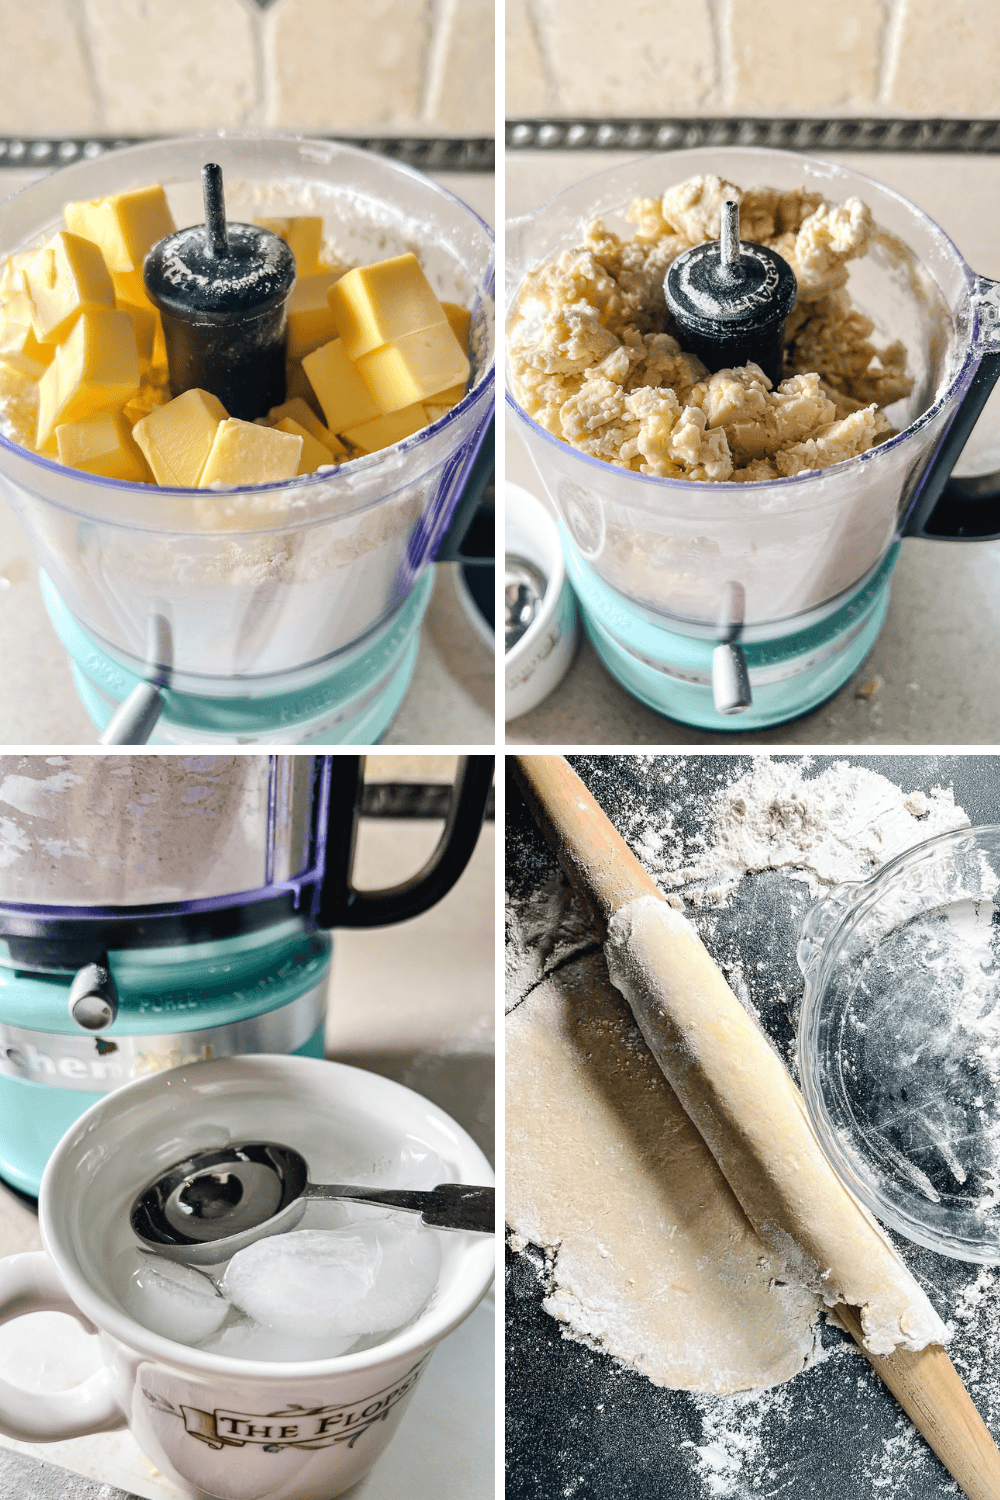
Yes, you can! Most recipes for pie crust in a food processor are written for a full-size machine. A 3.5 cup mini food processor, like my KitchenAid, holds 1 1/4 cups of flour and 1 stick of butter. That is one single pie crust for a 9-inch pan.
If you try to squeeze a full double crust recipe in at once, it will not fit, and the butter will not mix in evenly. So make one crust at a time.
This flaky pie crust recipe still comes out just as good, it just takes two quick batches for a double crust. Have a full-size food processor? You can double the recipe and make both crusts at once.
Ingredients for This Easy Homemade Pie Crust Recipe
Full Recipe In a Large Food Processor (makes enough for a double crust or two single 9-inch crusts):
- 1 1/4 cups all-purpose flour
- 1 1/2 teaspoons sugar: adds a hint of sweetness and helps the crust brown. Leave it out for savory pies like quiche or pot pie.
- 1/2 teaspoon salt
- 1/2 cup (1 stick) unsalted butter, very cold: cut it into cubes and freeze it for 15 minutes.
- 3 to 5 tablespoons ice water: you may need a little more or less, depending on your flour and the weather.
Making a double crust pie? In total you need 2 1/2 cups flour, 1 tablespoon sugar, 1 teaspoon salt, 1 cup (2 sticks) butter, and 6 to 8 tablespoons ice water. In a mini food processor, make it in two batches.
Equipment You Need
- KitchenAid 3.5 Cup Food Processor
- Pyrex 9 1/2 Inch Scalloped Pie Plate
- Rolling pin
- Plastic wrap
- Pie Weights for blind baking
How to Make Pie Crust in a Mini Food Processor
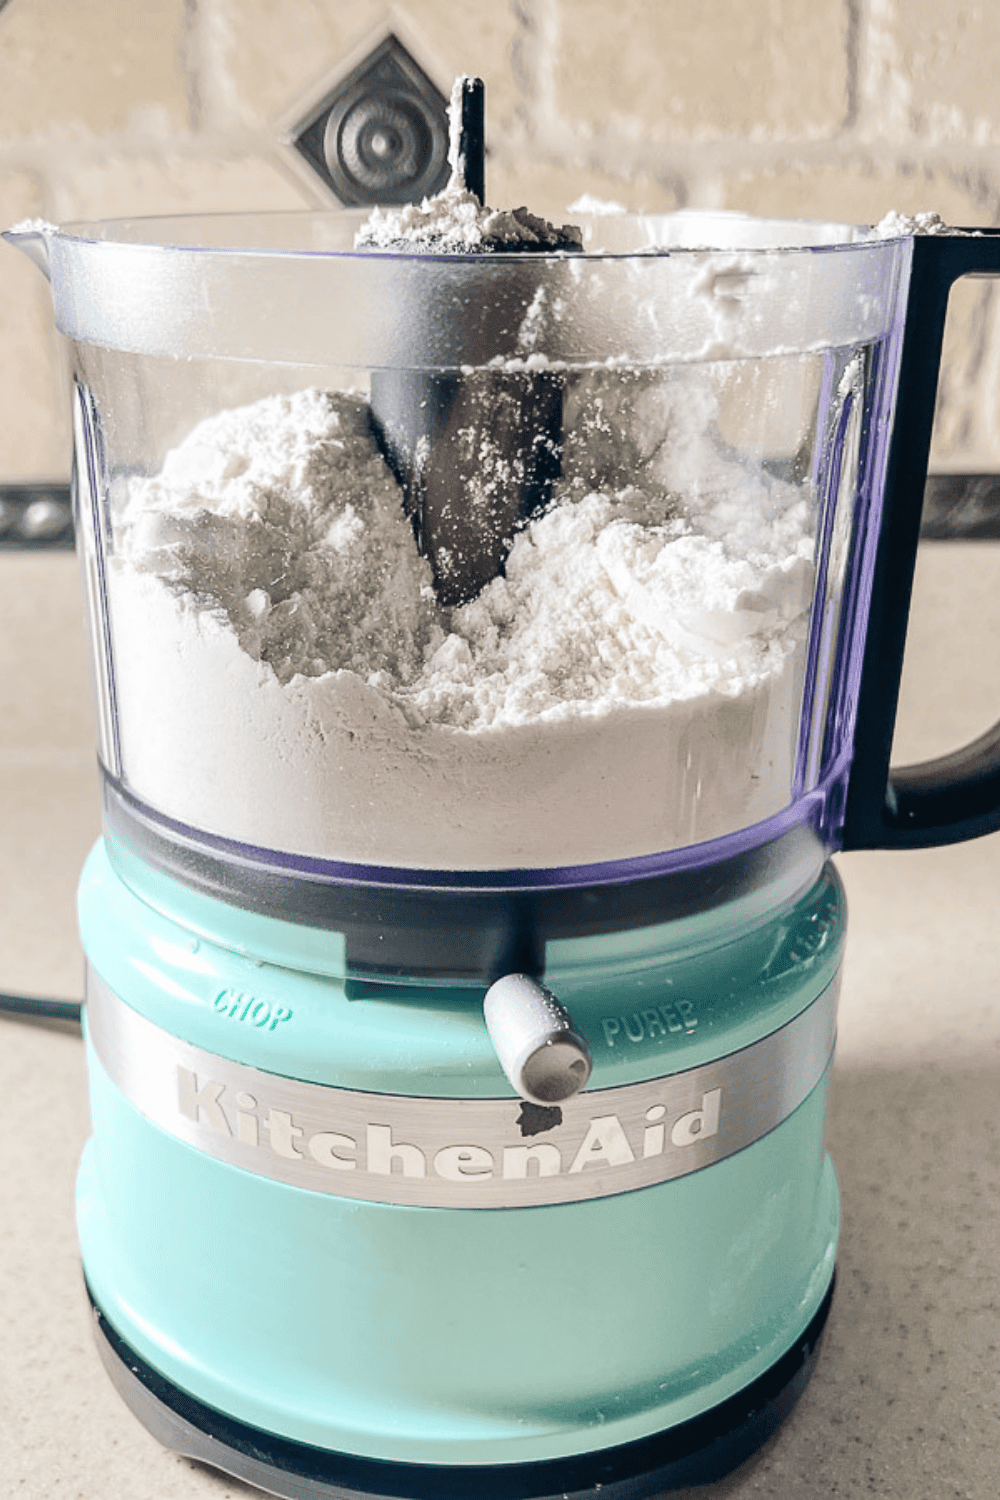
- Chill the butter. Cut 1 stick of cold unsalted butter into 1/2 inch cubes and put them in the freezer for 15 minutes.
Pro tip: Cold butter makes little steam pockets in the oven, and that is what gives you a flaky crust. - Get your ice water ready. Fill a small cup with ice and water so it is ready when you need it.
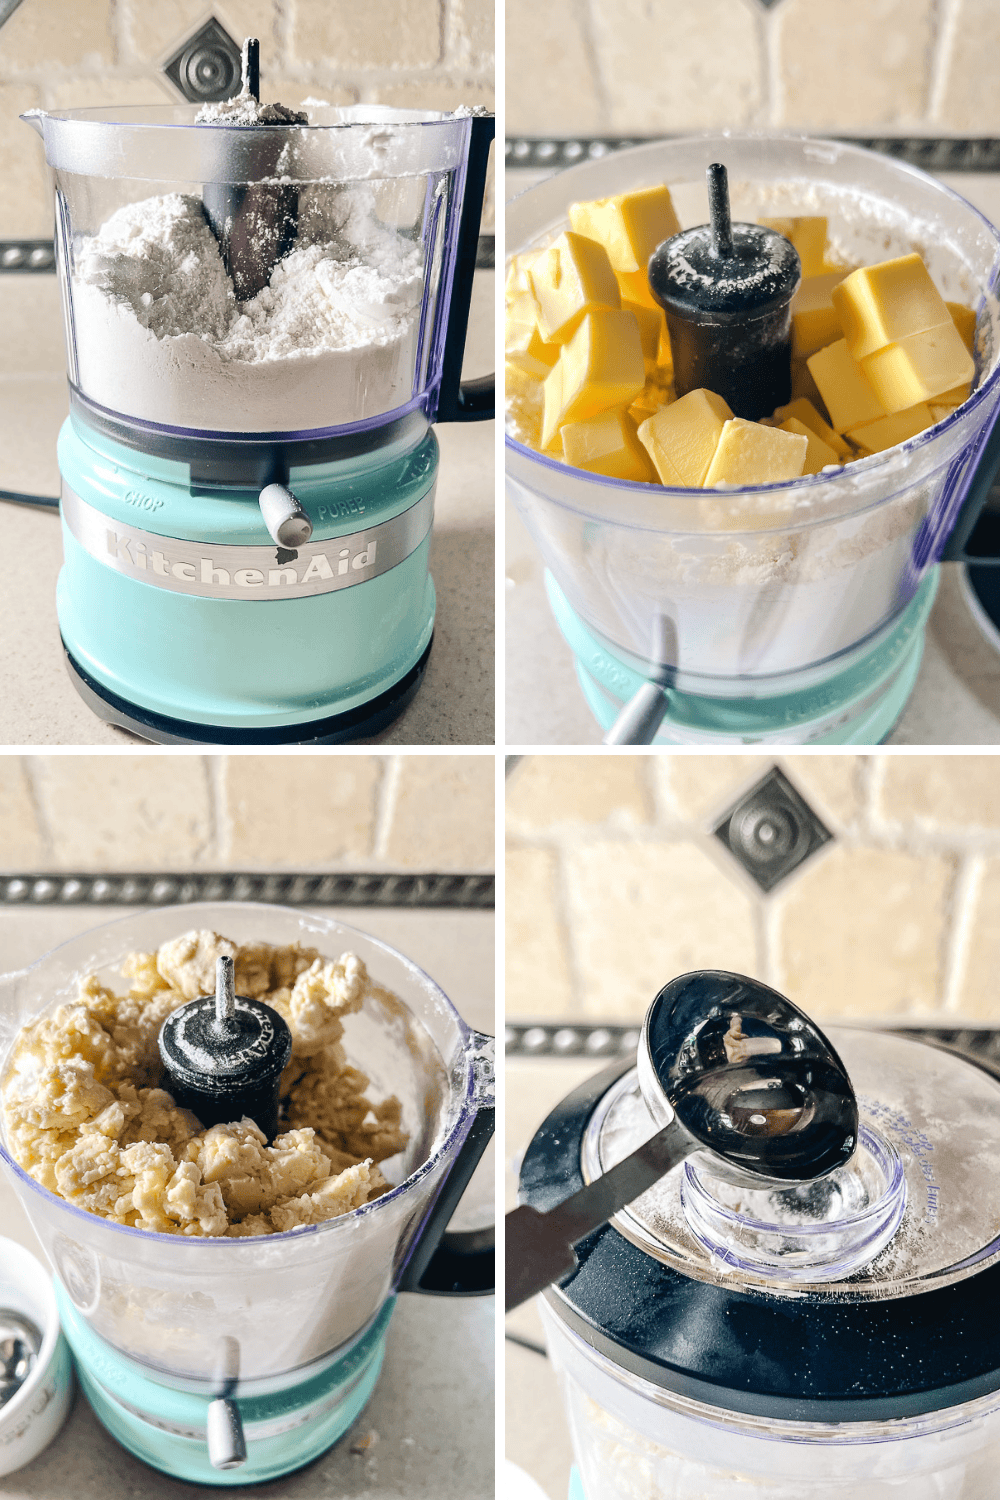
Pro tip: Measure the water only, not the ice. You will spoon it out 1 tablspoon at a time. - Mix the dry ingredients. Add 1 1/4 cups flour, 1 1/2 teaspoons sugar, and 1/2 teaspoon salt to your mini food processor. Pulse 2 to 3 times to mix.
- Cut in the butter. Add the cold butter cubes. Pulse 8 to 10 times in short bursts until it looks like coarse crumbs with pea-sized pieces of butter.
Pro tip: Short pulses only. If you let it run, the butter melts into the flour. - Add the ice water. Drizzle in 3 tablespoons of ice water and pulse just until the dough starts to clump. Pinch a little. If it crumbles, add more ice water 1 teaspoon at a time, up to 1 more tablespoon. Pro tip: Every batch is a little different, because your flour and the humidity in your kitchen both change how much water you need.
- Shape a disk. Turn the dough out onto a lightly floured counter. Gently press it into a ball, then flatten it into a 1 inch thick disk.
Pro tip: Handle it as little as you can so the crust stays tender. - Chill the dough. Wrap the disk tightly in plastic wrap and refrigerate it for at least 1 hour, or up to 2 days. Making a double crust pie? Now make your second batch the same way.
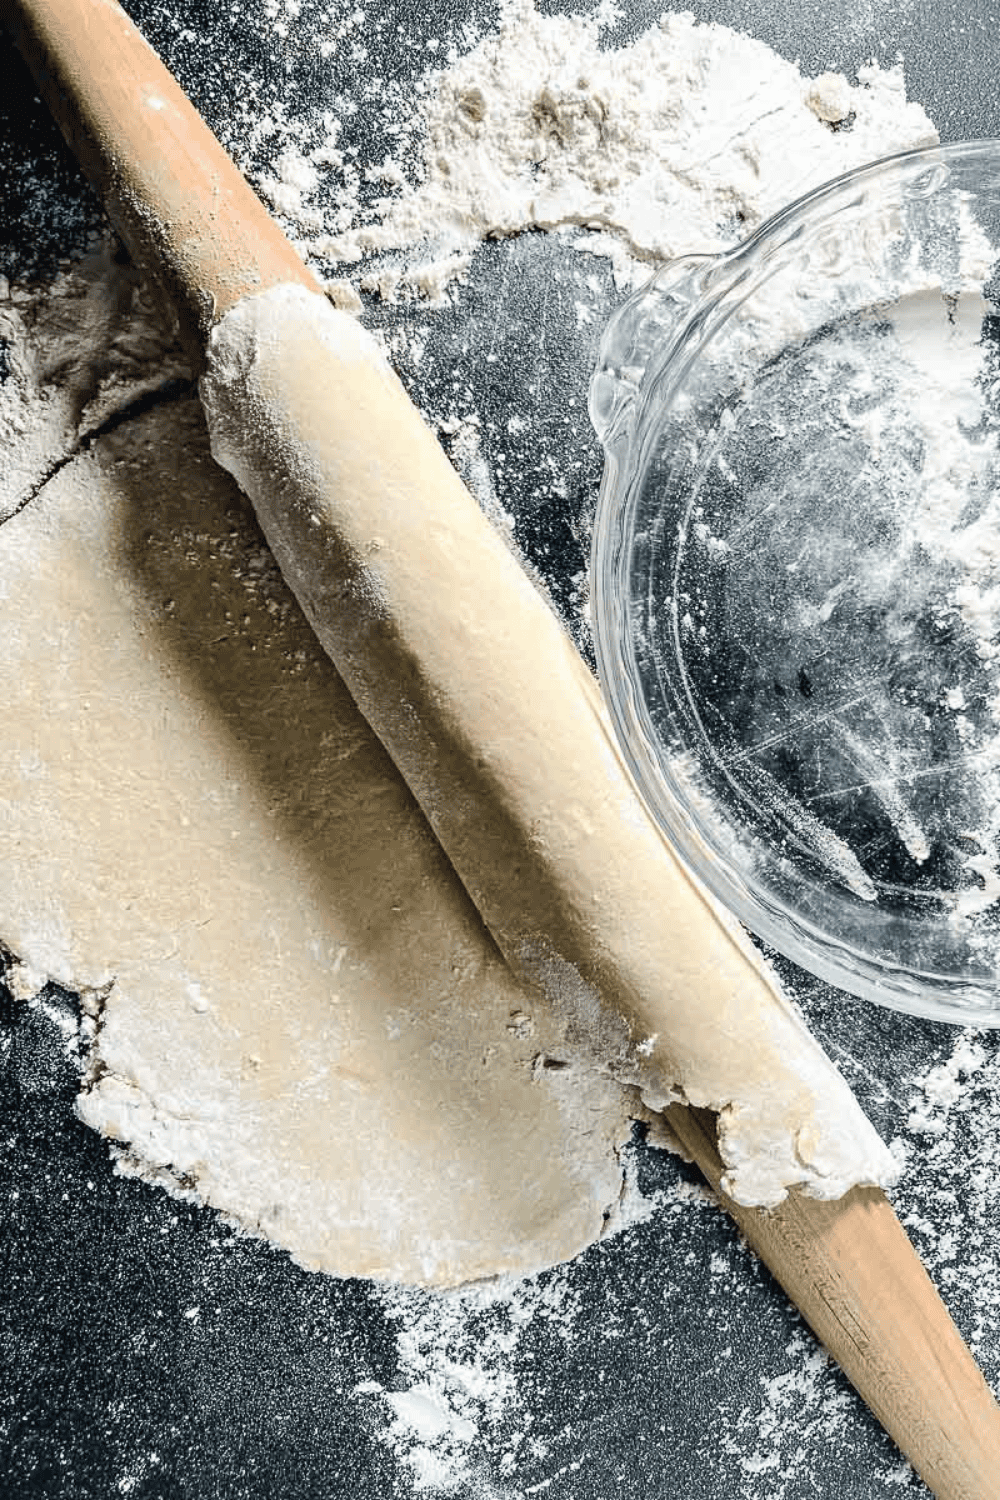
- Roll it out. Let the dough sit on the counter for 5 to 10 minutes. Roll it into a circle about 1/8 inch thick and 2 inches wider than your pie plate, about 11 inches for a 9-inch pan.
- Shape the crust. Lay the dough in your pie plate and gently press it into the bottom and sides. Trim it to a 1/2 inch overhang, fold the edge under, and crimp.
Pro tip: Prick the bottom with a fork if you plan to blind bake it.
How to Blind Bake a Pie Crust
Blind baking just means baking the crust before you add the filling. It is the best way to make a pie crust for quiche, custard, or cream pie, because it keeps the bottom from getting soggy.
You line the crust with parchment and fill it with pie weights so it does not puff up or shrink. No pie weights? Dried beans or rice work too, but you can’t cook with them afterward.
This technique is commonly used for single-crust pies where the filling doesn’t require long baking times or is added after the crust is baked.
- Roll out your dough, lay it in your pie plate, and chill it in the refrigerator for 15 minutes.
- Heat your oven to 375°F.
- Line the crust with parchment paper and fill it with pie weights.
- Bake for 15 to 20 minutes, until the edges are lightly golden.
- Lift out the parchment and weights. Bake 2 to 3 more minutes for a partly baked crust, or 10 to 15 more minutes for a fully baked crust.
- Let it cool completely before you add the filling.
Use a partly baked crust for pumpkin pie or quiche, since those bake again with the filling. Use a fully baked crust for no-bake fillings like chocolate cream pie.
Equipment Needed:
Tips for a Flaky Pie Crust Every Time
- Keep everything cold: If the butter starts to soften, pop the dough back in the fridge for 15 minutes.
- Don’t overmix: Stop pulsing as soon as the dough starts to come together.
- Dough too crumbly to roll? Sprinkle on a teaspoon of ice water and press it back together.
- Crust shrinking in the pan? Chill the shaped crust for 15 minutes before it goes in the oven.
- Dough sticky? Give it a little more time in the fridge and use a light dusting of flour.
Easy Pie Crust Variations
- Savory crust: Skip the sugar for quiche, pot pie, or hand pies.
- Salted butter: Use it and leave out the 1/2 teaspoon of salt.
- Full size food processor: Double everything and make both crusts at once.
- Fork edge: Skip the crimp and press a fork all the way around the rim, the way my mom always did.
- Small pie crust: One batch also makes a 6 inch pie. Roll the dough to about 8 inches across.
Make Ahead and Freezing
Wrap the dough disk tightly in plastic wrap. It keeps in the fridge for up to 2 days.
To freeze it, wrap it twice and slip it into a freezer bag for up to 3 months. Thaw it overnight in the fridge before you roll it out.
Pies to Make With This Crust
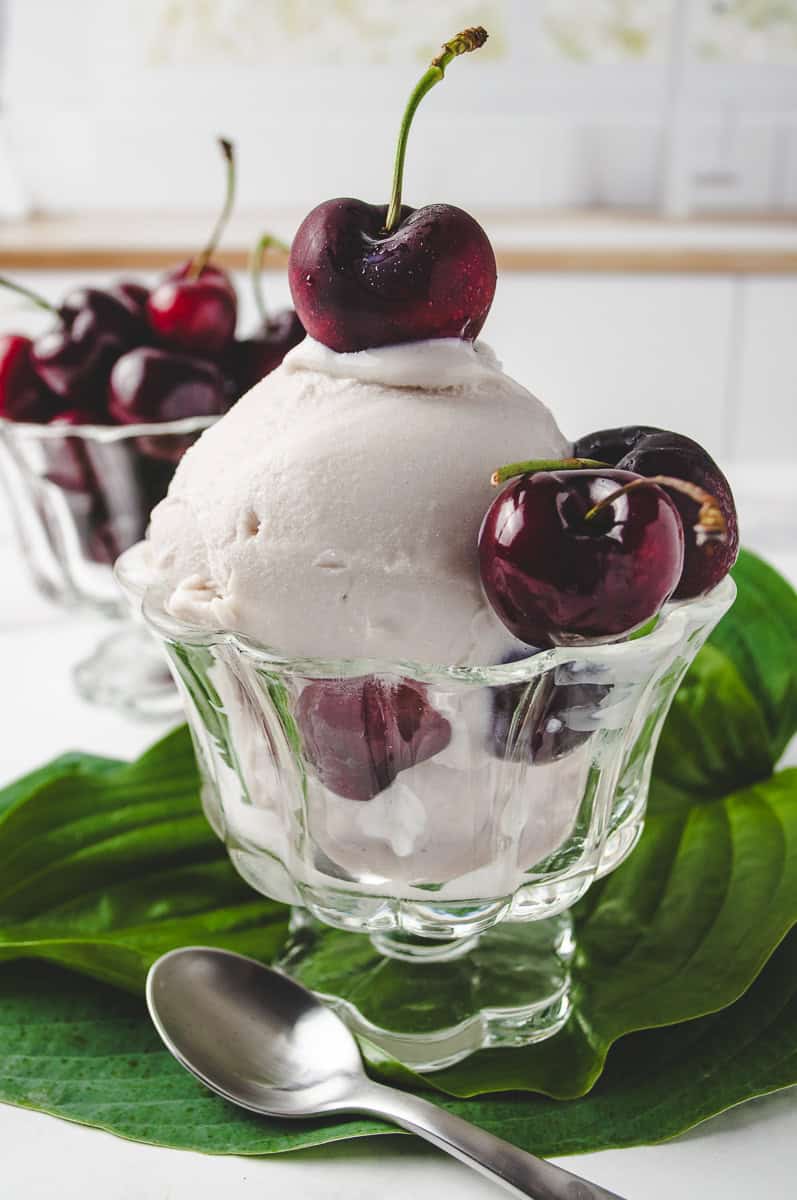
This all butter pie crust works for everything from a pie crust for apple pie to a cherry pie or quiche. Here are a few of our family favorites:
Frequently Asked Questions – Mini Food Processor Pie Crust
A: Yes, just not all at once. Make one batch for the bottom crust, wrap it and chill it, then make a second batch for the top.
A: A 3.5 cup mini food processor holds enough for one single crust. To make a double crust in one batch, you need a full-size food processor.
A: Start with 3 tablespoons and add more, 1 tablespoon at a time, until the dough holds together when you pinch it. Your flour and the weather both change how much you need. The last time I made this recipe, I used 5 tablespoons.
A: Butter gives you the best flavor and those flaky layers. Shortening is a little easier to roll, but it has no flavor of its own, so I always use an all butter pie crust. I like that butter is a simple, real ingredient, and it is what my family has always used.
A: Yes. Just leave out the 1/2 teaspoon of salt. Unsalted butter gives you more control over the flavor.
A: No. A butter pie crust has enough fat to release on its own, and spray can make the dough slide down the sides and shrink as it bakes. If your crust sticks, juice from the filling probably leaked under it, so patch any cracks before you fill it and let the pie cool before slicing.
A: Blind bake it for quiche, custard, pumpkin, and cream pies. For fruit pies like apple or cherry, you can fill it and bake it right away.
A: Yes. Keep the wrapped dough in the fridge for up to 2 days or in the freezer for up to 3 months.
Easy Homemade Pie Crust in a Mini Food Processor
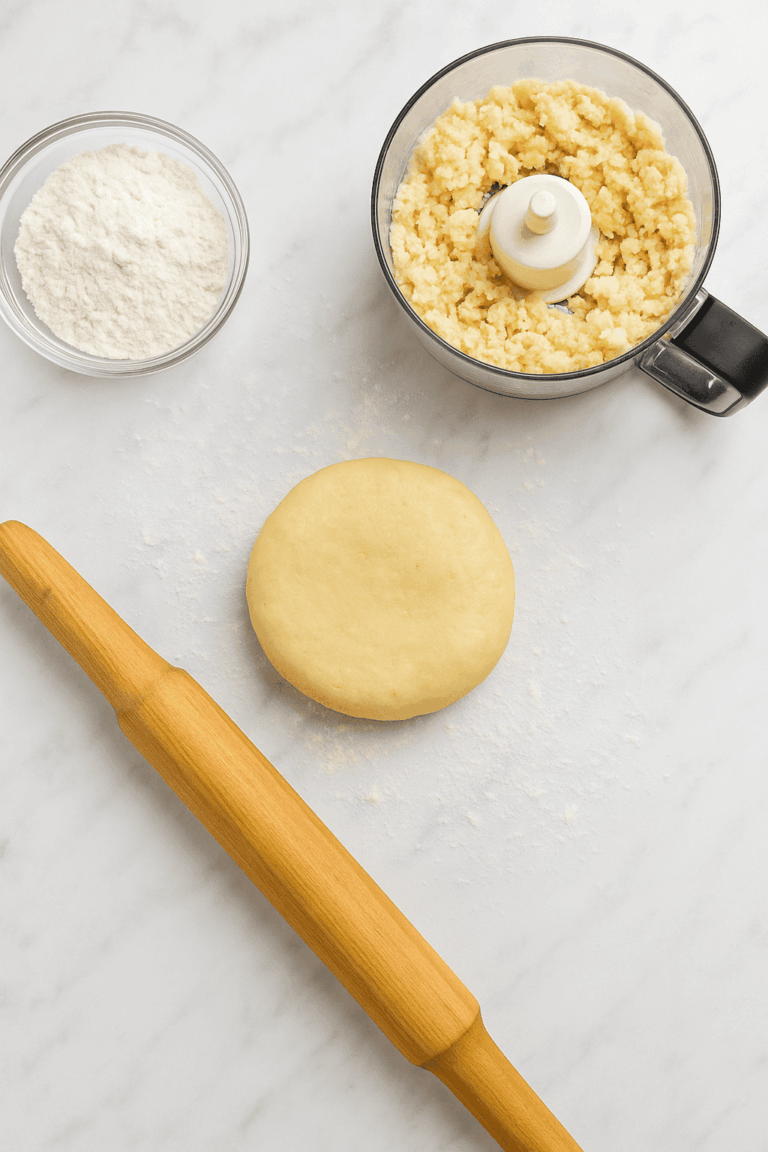
This easy homemade pie crust comes together in minutes using a mini food processor, making it simple enough for any baker. With just a few basic ingredients, you’ll create a buttery, flaky crust that tastes far better than store-bought. Once you see how quick and delicious it is, you’ll want to make a homemade pie crust for every pie you bake with love.
- Total Time: 0 hours
- Yield: 1 single 9 inch pie crust 1x
Ingredients
- 1 1/4 cups all-purpose flour
- 1 1/2 teaspoons sugar
- 1/2 teaspoon salt
- 1/2 cup (1 stick) unsalted butter, very cold
- 3 to 5 tablespoons ice water
 Get Recipe Ingredients
Instructions
- Cut the cold butter into 1/2 inch cubes and put them in the freezer for 15 minutes.
- Fill a small cup with ice and water so it is ready to use.
- Add the flour, sugar, and salt to a mini food processor. Pulse 2 to 3 times to mix.
- Add the cold butter cubes. Pulse 8 to 10 times in short bursts until the mixture looks like coarse crumbs with pea size pieces of butter.
- Drizzle in 3 tablespoons of ice water and pulse just until the dough starts to clump. Pinch a little. If it crumbles, add more ice water 1 tablespoon at a time, up to 5 tablespoons in all.
- Turn the dough out onto a lightly floured counter. Gently press it into a ball, then flatten it into a 1 inch thick disk.
- Wrap the disk tightly in plastic wrap and refrigerate for at least 1 hour, or up to 2 days.
- For a double crust pie, repeat steps 1 through 7 to make a second disk for the top crust.
- Let the dough sit on the counter for 5 to 10 minutes. Roll it into a circle about 1/8 inch thick and 2 inches wider than your pie plate, about 11 inches for a 9 inch pan.
- Lay the dough in your pie plate and gently press it into the bottom and sides. Trim to a 1/2 inch overhang, fold the edge under, and crimp.
- Fill and bake as your pie recipe directs, or blind bake it first (see notes).
Notes
1. This recipe makes one crust because that is all a mini food processor can hold. For a two crust pie, make one batch, wrap and chill it, then make a second batch.
2. The water changes a little every time, depending on your flour and how humid your kitchen is. Start with 3 tablespoons and add more 1 tablespoon at a time, up to 5.
3. To blind bake, chill the crust in your pie plate in the refrigerator for 15 minutes, line it with parchment and pie weights, and bake at 375°F for 15 to 20 minutes. Remove the weights and bake 2 to 3 more minutes for partly baked, or 10 to 15 more minutes for fully baked.
4. Make ahead: the wrapped dough keeps 2 days in the fridge or 3 months in the freezer. Thaw it overnight in the fridge.
- Prep Time: 10 minutes
- Cook Time: Chill Time: 1 hour
- Category: Dessert
- Method: Food Processer
- Cuisine: American

Frequently Asked Questions (FAQs)
Yes, you can use salted butter, but skip the added salt in the recipe. Unsalted butter gives you better control over the flavor.
Cold butter is the secret to a flaky crust. When the cold butter melts in the oven, it creates little steam pockets that give your crust those perfect flaky layers.
Can I make this pie crust ahead of time?
Blind bake (pre-bake) only if your pie filling is custard or cream-based, like pumpkin or coconut cream. For fruit pies, you can bake it filled.
Chilling the pie crust before baking keeps the butter cold, which helps create flaky layers as it melts in the oven. It also relaxes the gluten in the dough, preventing the crust from shrinking or becoming tough. This quick rest helps the crust hold its shape and bake up tender, crisp, and perfectly golden.