Ninja Creami Fairlife Chocolate Milk Ice Cream (3 Ingredients, High Protein)

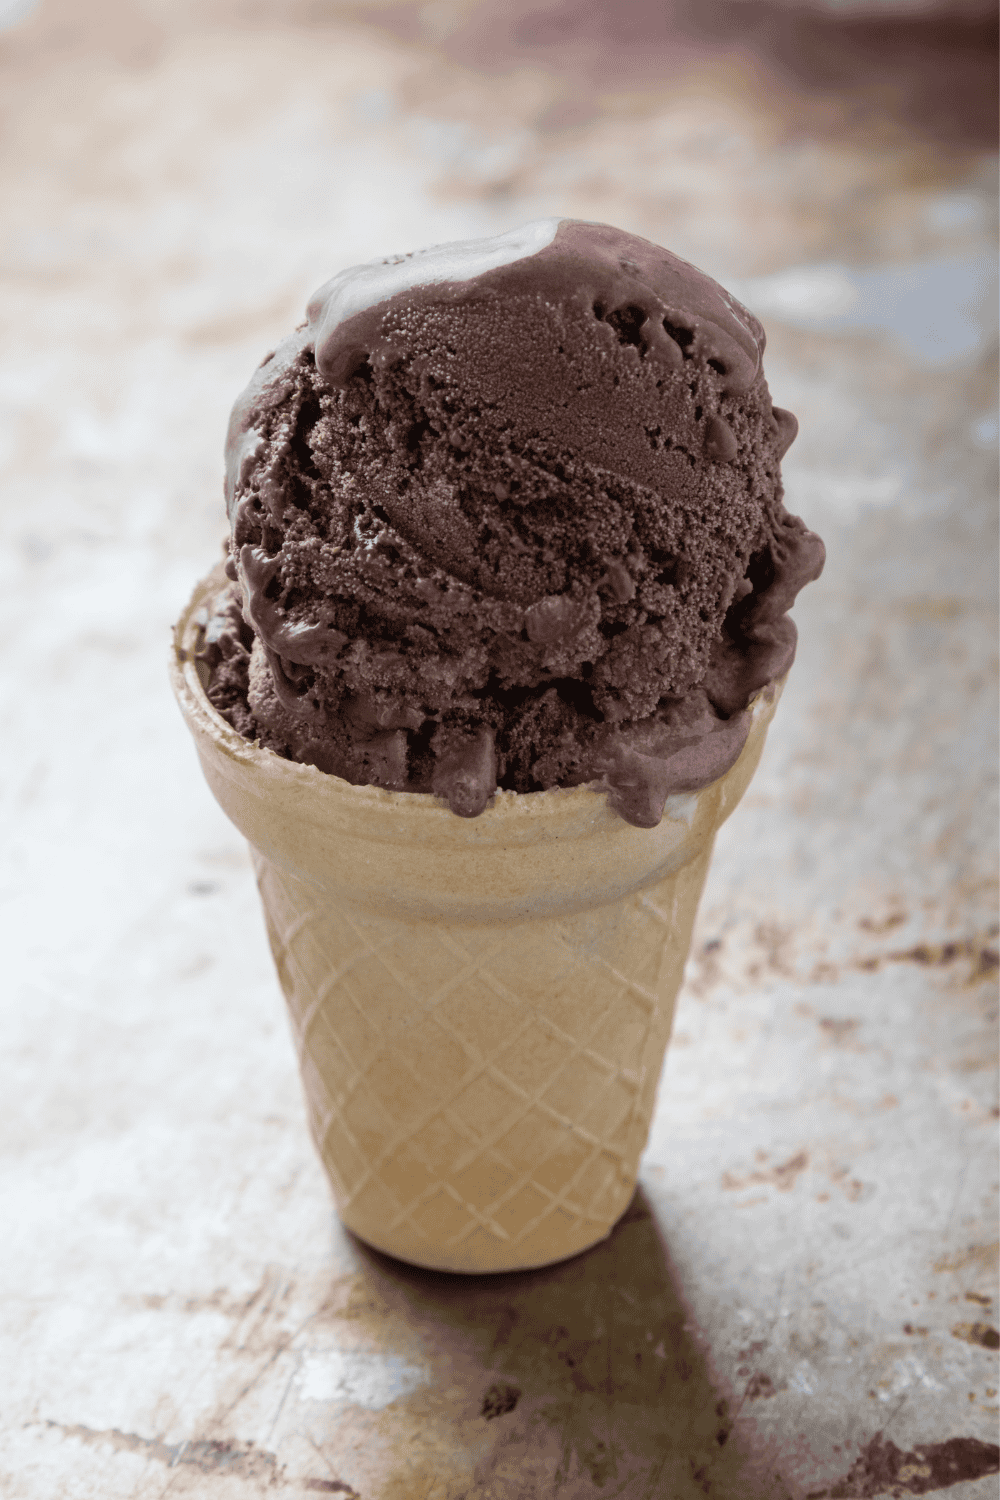
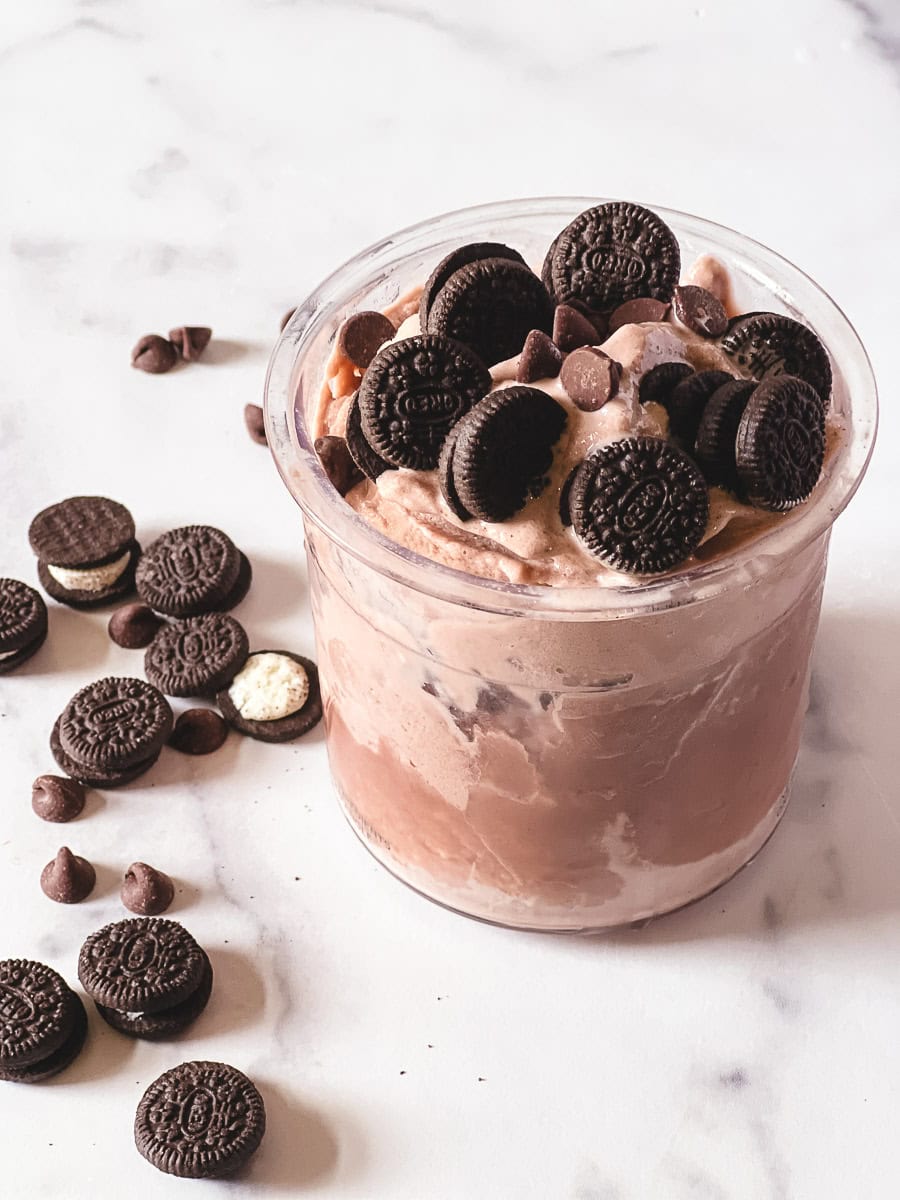
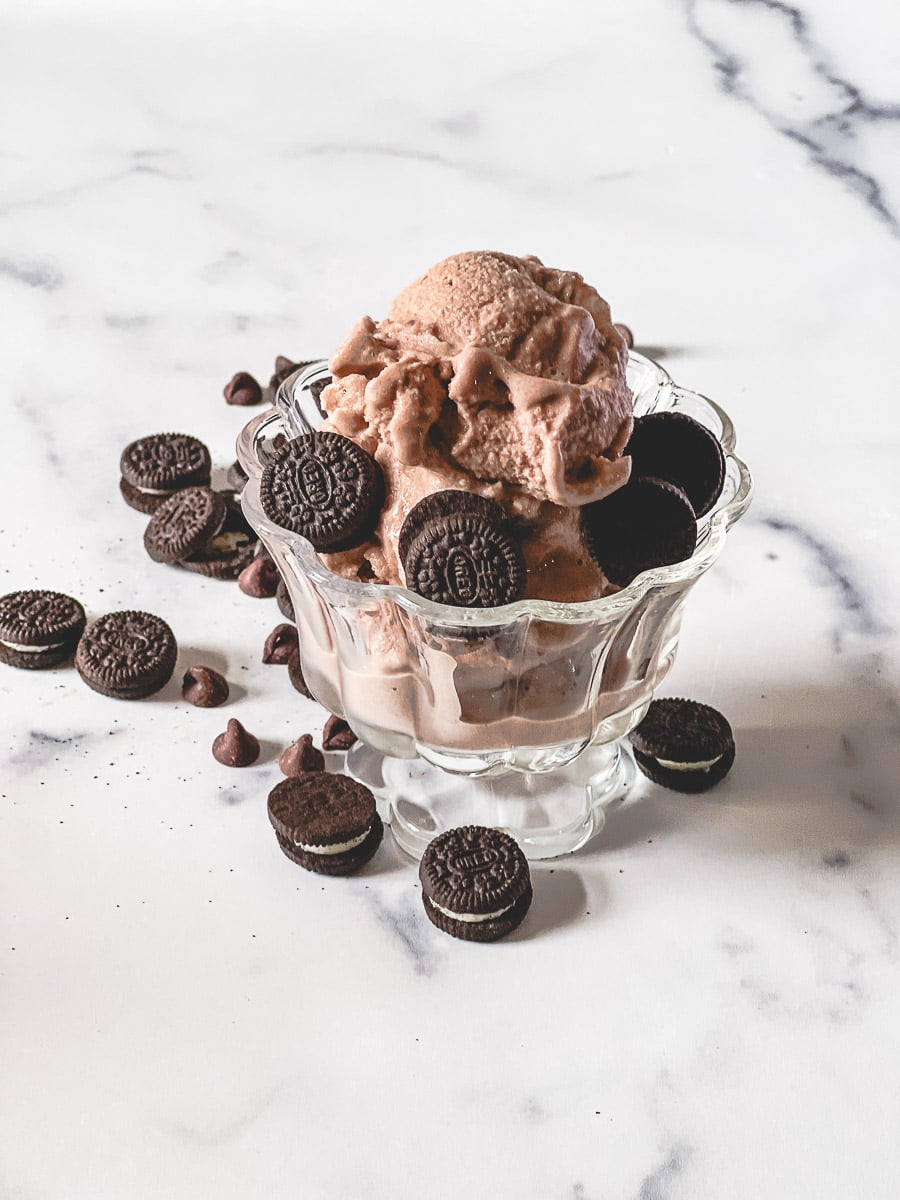
This Ninja Creami chocolate protein ice cream is creamy, rich, and made with just three simple ingredients. It tastes like a real dessert, and I promise you, you would never guess it is packed with protein. This Ninja Creami Fairlife Chocolate Milk Ice Cream is one of those recipes I keep coming back to all summer long.

Three simple ingredients, a little patience while it freezes, and you have the creamiest, richest chocolate ice cream, made right at home with real protein packed into every scoop.
Jim is my official taste tester and he gives this one two thumbs up every single time. I know your family is going to love it just as much as mine does.
Why You’ll Love This Recipe
- Only 3 ingredients
- High protein and low guilt
- Tastes like real chocolate ice cream
- Ready to scoop after just 24 hours in the freezer
- Perfect for busy moms who want a healthier dessert option
- Kids love it too
Equipment You’ll Need
- Ninja Creami machine
- Ninja Creami pint container with lid
- Measuring cups and spoons
- Whisk or small hand blender (to mix protein powder smoothly)
Ingredients You’ll Need
- 1 and 1/2 cups Fairlife chocolate milk
- 1/4 cup water
- 1/3 cup Clean Simple Eats vanilla protein powder (1 single serving package)
- Pinch of salt
How to Make Ninja Creami Fairlife Chocolate Milk Ice Cream
- Step 1: Mix your base. Pour the Fairlife chocolate milk and water into your Ninja Creami pint container. Add the protein powder and a pinch of salt. Whisk everything together right in the pint until the protein powder is fully dissolved. Pro tip: If you see lumps, use a small hand blender or shake it well. Lumps in the mix can affect the final texture after freezing.
- Step 2: Check your fill line. Make sure your mixture does not go above the max fill line on the pint. Give it a gentle stir one more time to make sure everything is well combined.
- Step 3: Freeze overnight. Put the lid on your pint and place it in the freezer. You need it to freeze for a full 24 hours. I always make mine the night before I want to serve it. Pro tip: Make sure the top of your mixture is flat and level before freezing. If it has a mound in the center, use the back of a spoon to smooth it out. The Ninja Creami processes better with a level surface.
- Step 4: Process on the Lite Ice Cream setting. Take your pint out of the freezer and let it sit on the counter for 5 minutes. Then run the outside of the pint under warm water for 60 seconds. Place it in your Ninja Creami, lock it in, and run it on the Lite Ice Cream setting.
- Step 5: Re-spin if needed. Once it finishes, check the texture. If it is not quite smooth enough, run it through the Re-spin cycle. That usually does the trick and gives you that perfect creamy texture.
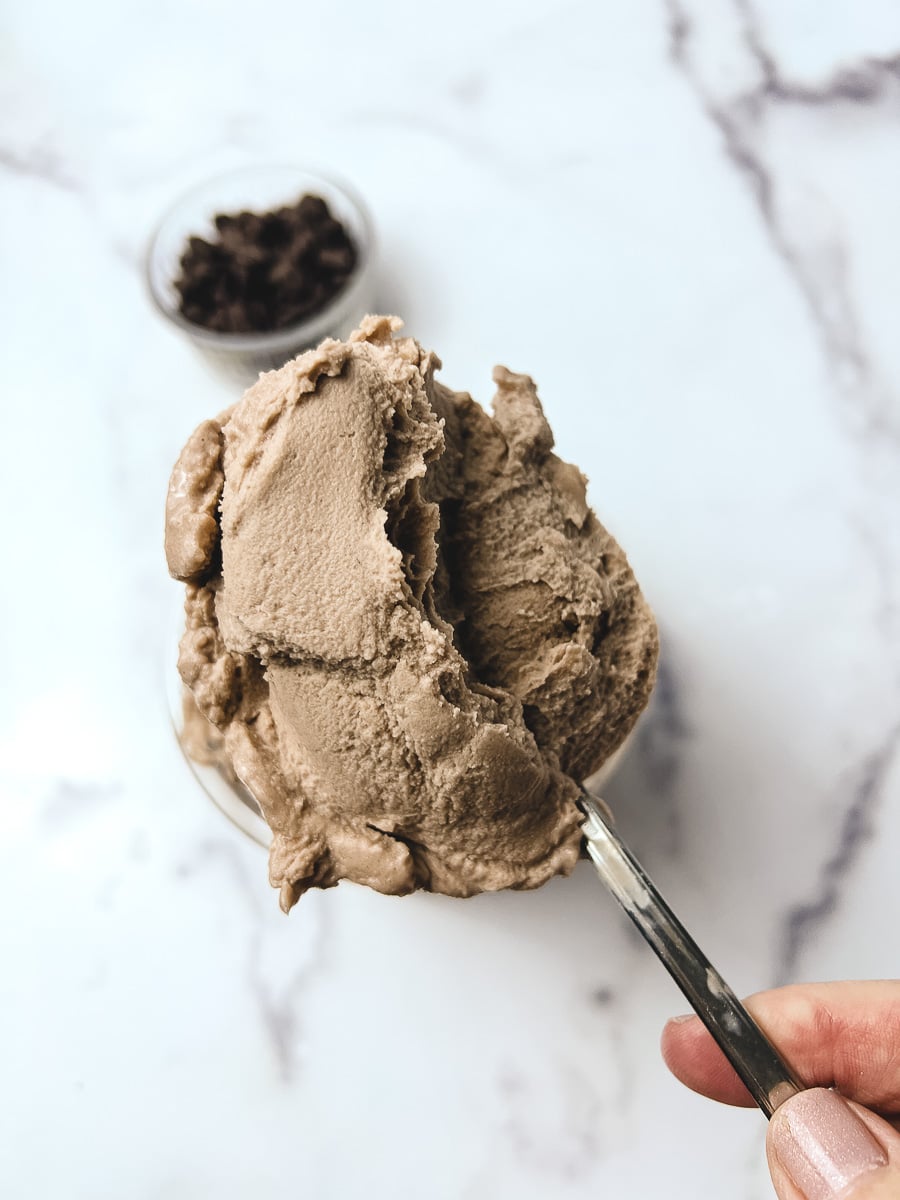
Variations
- Add a tablespoon of cocoa powder for an extra deep chocolate flavor
- Swap vanilla protein powder for chocolate protein powder for double chocolate
- Stir in mini chocolate chips after processing for a fun crunch
- Add a teaspoon of peanut butter powder to the base before freezing for a chocolate peanut butter version
- Top with a drizzle of sugar-free chocolate syrup before serving
Frequently Asked Questions
A: Yes, you can use any vanilla protein powder you like. Just make sure it dissolves well in liquid so your base is smooth before freezing.
A: This usually means it needs a Re-spin. Run it through the Re-spin cycle one or two times and it will smooth right out.
A: Use the Lite Ice Cream setting. If it needs more smoothing, run the Re-spin cycle until you get the texture you want.
A: You can, but Fairlife has extra protein and a creamier texture which makes a big difference in this recipe. I always recommend sticking with Fairlife for the best results.
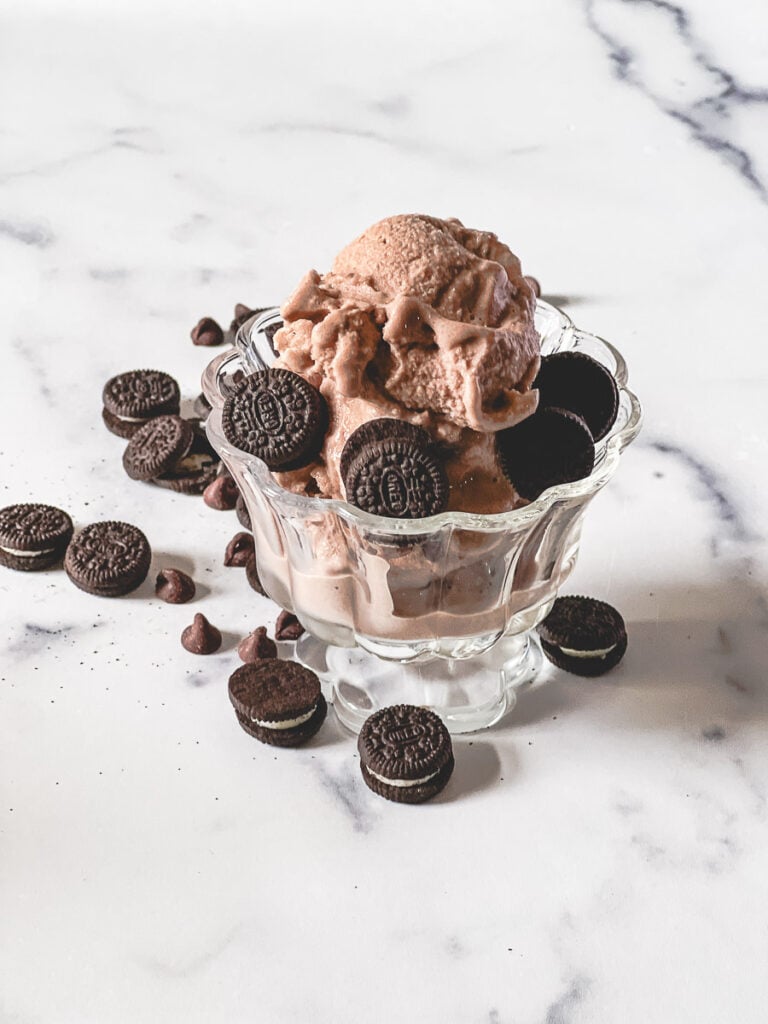
Ninja Creami Fairlife Chocolate Milk Ice Cream (3 Ingredients, High Protein)
This Ninja Creami chocolate protein ice cream is made with just 3 simple ingredients and is high in protein without sacrificing flavor. It is creamy, rich, and so easy to make. Your whole family will love it.
- Total Time: 0 hours
- Yield: 2 servings 1x
Ingredients
- 1 and 1/2 cups Fairlife chocolate milk
- 1/4 cup water
- 1/3 cup Clean Simple Eats vanilla protein powder (1 single serving package)
- Pinch of salt
Instructions
- Pour the Fairlife chocolate milk and water into your Ninja Creami pint. Add the protein powder and a pinch of salt. Whisk until fully dissolved with no lumps.
- Check that the mixture is below the max fill line. Smooth the top with the back of a spoon so it is level.
- Place the lid on the pint and freeze for a full 24 hours.
- Remove from freezer and let sit on the counter for 5 minutes. Run the outside of the pint under warm water for 60 seconds. Process on the Lite Ice Cream setting.
- If needed, run through the Re-spin cycle until smooth and creamy.
Notes
- Make sure to whisk the protein powder in well before freezing. Lumps in the base can affect the texture.
- Fairlife milk gives you extra protein and a creamier result. Regular milk will work but the texture may differ.
- The top of your mixture must be flat and level before freezing for best results.
- Run Re-spin once or twice if the first process comes out crumbly. It will smooth out.
- Prep Time: 5 minutes
- Cook Time: freeze 24 hours
- Category: Dessert
- Method: Ninja Creami
- Cuisine: American