Sourdough Sandwich Bread in a Pullman Loaf Pan
Sourdough sandwich bread baked in a Pullman loaf pan is the softest, most perfectly sliceable homemade bread I have ever pulled from my oven, and I am so glad I finally found a recipe worth sharing with you.

Right from the start of this recipe, I want to make sure you know I am not an expert at sourdough. I am still a beginner trying to learn. I wanted to share some of the recipes that have worked for me and where I am getting my inspiration. So come along and comment below with any of your suggestions or tips.
A Softer Sourdough: The Story Behind This Loaf
My husband Jim and I have been on a health journey together this past year. We are working on lowering our cholesterol, improving our heart health, and making smarter choices about what we put on our plates each day.
Sourdough bread has been a wonderful part of that because it is genuinely better for you than conventional store-bought white bread, and far more satisfying than cutting back on rice or potatoes.
The challenge I ran into is that Jim has always loved a soft, fluffy bread. The kind you can slice thick, stack high with eggs and cheese, and actually enjoy for breakfast without fighting through a hard crust. Traditional artisan sourdough, which I absolutely adore, was just too chewy and dense for his taste.
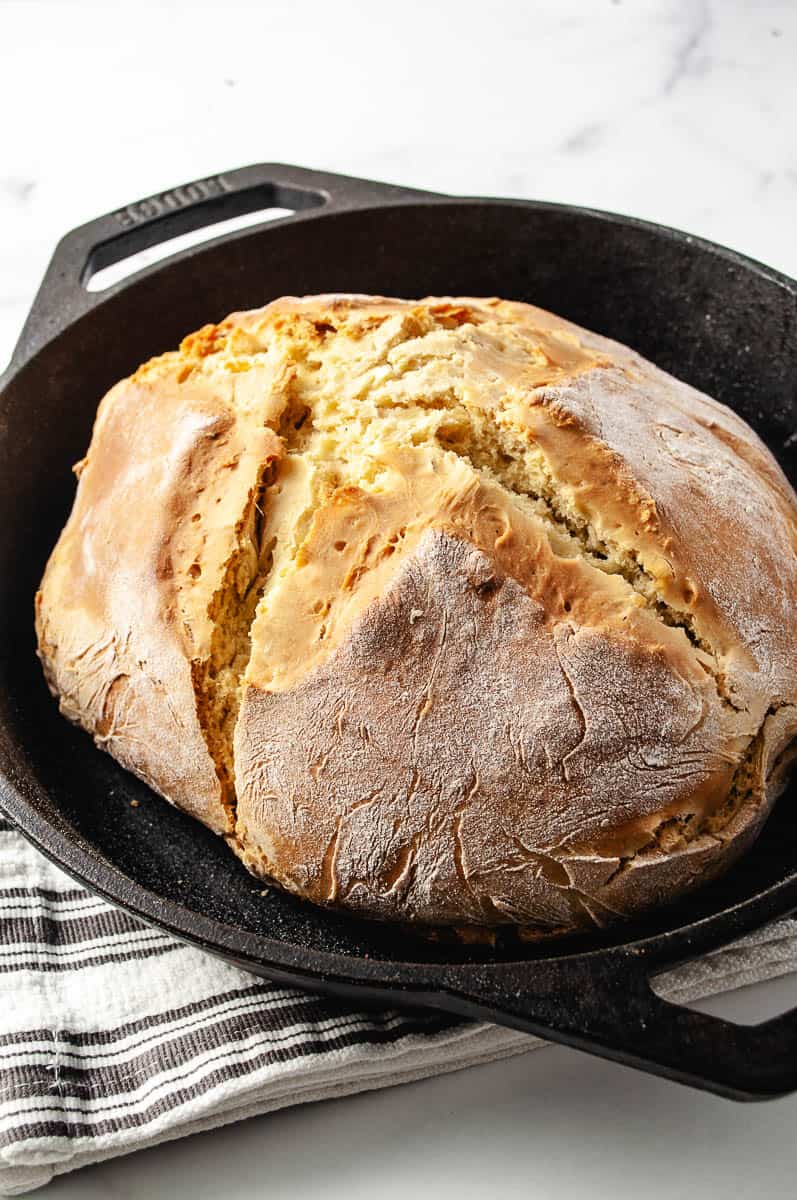
When I first started baking sourdough, I was making the classic artisan style. The kind with the thick crackling crust and the open, holey crumb. I love those loaves, and I am still perfecting that recipe in another post. But Jim was not quite as enthusiastic.
So Jim surprised me with a 13-inch Pullman loaf pan for Christmas, and I spent quite a bit of time testing and adapting recipes to find the one that would finally give him the loaf he was hoping for.
I adapted this recipe from the wonderful Hopewell Heights, whose sourdough videos and recipes are truly some of the best I have found. A few small changes of my own, and this loaf came out absolutely beautifully. I know your family will love this bread just as much as we do.
Why You’ll Love This Sourdough Sandwich Bread
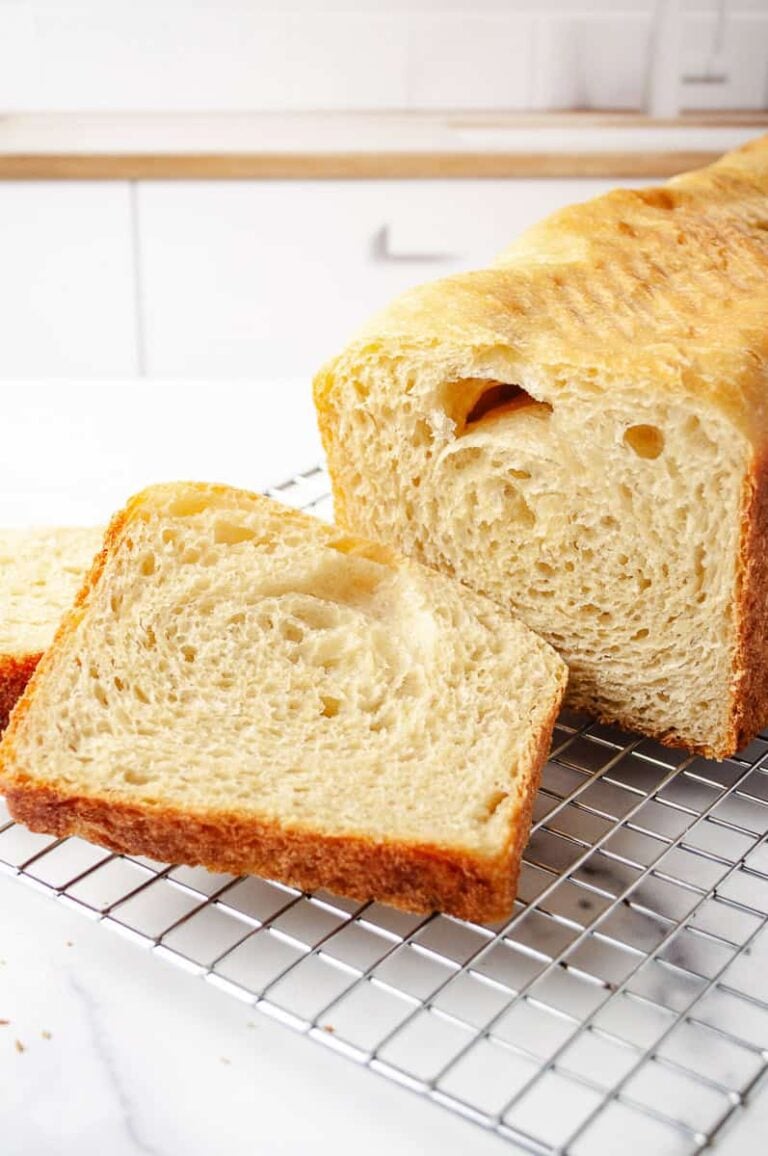
- The crumb is soft and fluffy, not chewy or dense, and perfect for building everyday sandwiches
- No commercial yeast required, just your active sourdough starter doing all the work
- A healthier homemade option because you know exactly what goes into every slice
- The Pullman pan gives you beautifully even, square slices every single time
- Simple to prepare with a stand mixer, no complicated shaping or scoring techniques needed
What Is a Pullman Loaf Pan and Why Does It Make Such a Difference?
A Pullman loaf pan (also called a pain de mie pan) is a rectangular baking pan with a sliding lid that locks into place over the top of the dough as it bakes.
When you bake sourdough sandwich bread with the lid on, the loaf rises into a perfectly square shape instead of rounding at the top like a standard loaf. The lid also traps steam inside the pan during baking, which keeps the crust thin and incredibly tender.
If you have ever wondered how store-bought sandwich bread always comes out in those perfectly even rectangular slices, this is exactly how. Once you bake this soft sourdough sandwich bread in a Pullman pan, you will not want to go back to a regular loaf pan for this recipe.
Ingredients You’ll Need
- 150 grams (about 2/3 cup) warm milk, under 100°F
- 75 grams (about 1/3 cup) warm water
- 225 grams (about 1 cup) active sourdough starter, fed 4 to 8 hours ahead
- 2 large eggs
- 50 grams (about 1/4 cup) granulated sugar
- 55 grams (about 1/4 cup) light olive oil, or melted and cooled butter
- 15 grams (about 1 tablespoon) pink Himalayan salt or fine sea salt
- 420 to 480 grams (about 3 1/2 to 4 cups) all-purpose flour
Note: I like to substitute one cup of the all-purpose flour with golden wheat flour. It adds a gentle whole-grain flavor and a little extra nutrition without making the loaf heavy or dense.
Ingredient Notes and Substitutions
Milk: Keep it warm but under 100°F. Anything hotter can damage or kill your sourdough starter. Whole milk gives the richest crumb, and 2% works beautifully as well.
Sourdough starter: Your starter must be active and at its peak rise when you add it to the dough. Feed it 4 to 8 hours before you plan to mix, and look for a bubbly, domed surface before you begin.
Olive oil or butter: Both work wonderfully in this recipe. Light olive oil gives a slightly lighter crumb, while melted butter adds a richer, more classic sandwich bread flavor. Since Jim and I are watching our saturated fat intake, I use olive oil most often.
Flour: All-purpose flour is the base here. Swapping one cup for golden wheat flour adds a hint of whole grain goodness without weighing the loaf down. I do not recommend replacing all the flour with whole wheat, as it will produce a much denser loaf.
Salt: I use pink Himalayan salt, but any fine sea salt works perfectly. Always measure by grams in sourdough baking for the most consistent results.
This post contains some affiliate links, for your convenience (which means if you make a purchase after clicking a link, I will earn a small commission, which helps keep my blog up and running, but it won’t cost you a penny more)! Click here to read my full disclosure policy.
Equipment Needed
- 13-inch Pullman loaf pan with sliding lid
- Stand mixer with dough hook attachment
- Kitchen scale (grams are important for sourdough accuracy)
- Bread bowl proofing cover or plastic wrap
- Rolling pin
- Instant-read thermometer
- Wire cooling rack
Note: The bread bowl proofing cover is a wonderful tool for the bulk ferment. You can also use plastic wrap in a pinch, but the proofing cover creates a better seal and keeps the dough from drying out overnight.
How to Make Sourdough Sandwich Bread in a Pullman Loaf Pan
- Mix the wet ingredients. In the large bowl of your stand mixer, whisk together the warm milk, warm water, active sourdough starter, eggs, sugar, olive oil, and salt (or cooled melted butter) until everything is well combined. Pro tip: Double-check that your milk and water are under 100°F before adding your starter. Heat above that temperature will kill the cultures you worked so hard to grow.
- Add the flour and knead. Attach the dough hook and turn the mixer to low. Gradually add your pre-measured flour to the bowl. Once all the flour is incorporated, increase the speed to medium and knead for 5 to 6 minutes until the dough is smooth and slightly tacky. Pro tip: Start with 420 grams of flour and only add more if the dough is sticking heavily to the sides of the bowl. A slightly softer dough will give you a fluffier finished loaf.
- Cover and bulk ferment. Remove the dough hook and scrape down the sides of the bowl. Cover with a bread proofing cover or plastic wrap and set it at room temperature to ferment for 8 to 12 hours, or until the dough has roughly doubled in size. Pro tip: I love to mix the dough in the evening and let it ferment overnight so it is perfectly ready to shape first thing the next morning. This also gives the dough more time to develop that gentle sourdough flavor.
- Shape the dough. Turn the dough out onto a lightly floured surface. Use your rolling pin to gently press and stretch it into a rectangle roughly as wide as your Pullman pan. Pro tip: Use only the lightest dusting of flour on your work surface. Too much flour will tighten the dough and result in a denser loaf.
- Grease your Pullman pan. Lightly coat the inside of the pan, including all four sides, both ends, and the inside of the lid, with light olive oil or butter. This step makes sure the bread releases cleanly after baking.
- Roll and tuck into a log. Starting from the long end closest to you, roll the dough up tightly into a log shape. Tuck the ends in as you roll, so the final loaf fits neatly within the width of your Pullman pan seam side down.
- Second rise in the pan. Place the shaped dough into the greased pan, seam side down. Slide the lid on and let the dough rise until it reaches about 1/2 inch from the top of the pan. This second rise usually takes 2 to 4 hours, depending on your kitchen temperature. Pro tip: Keep an eye on the dough as it gets close to the top of the pan. If it pushes against the lid before you get it into the oven, it can force the lid open, and you will lose that beautiful square shape.
- Preheat your oven. About 30 minutes before you are ready to bake, preheat your oven to 375°F so it is fully up to temperature when the loaf goes in.
- Bake with the lid on. Place the covered Pullman pan in the preheated oven and bake for 35 minutes with the lid on, or until the internal temperature of the bread reads between 190°F and 200°F on your instant-read thermometer.
- Vent after baking. Remove the pan from the oven and open the lid about an inch to let the steam escape. Allow the bread to rest in the pan with the lid slightly open for 20 minutes.
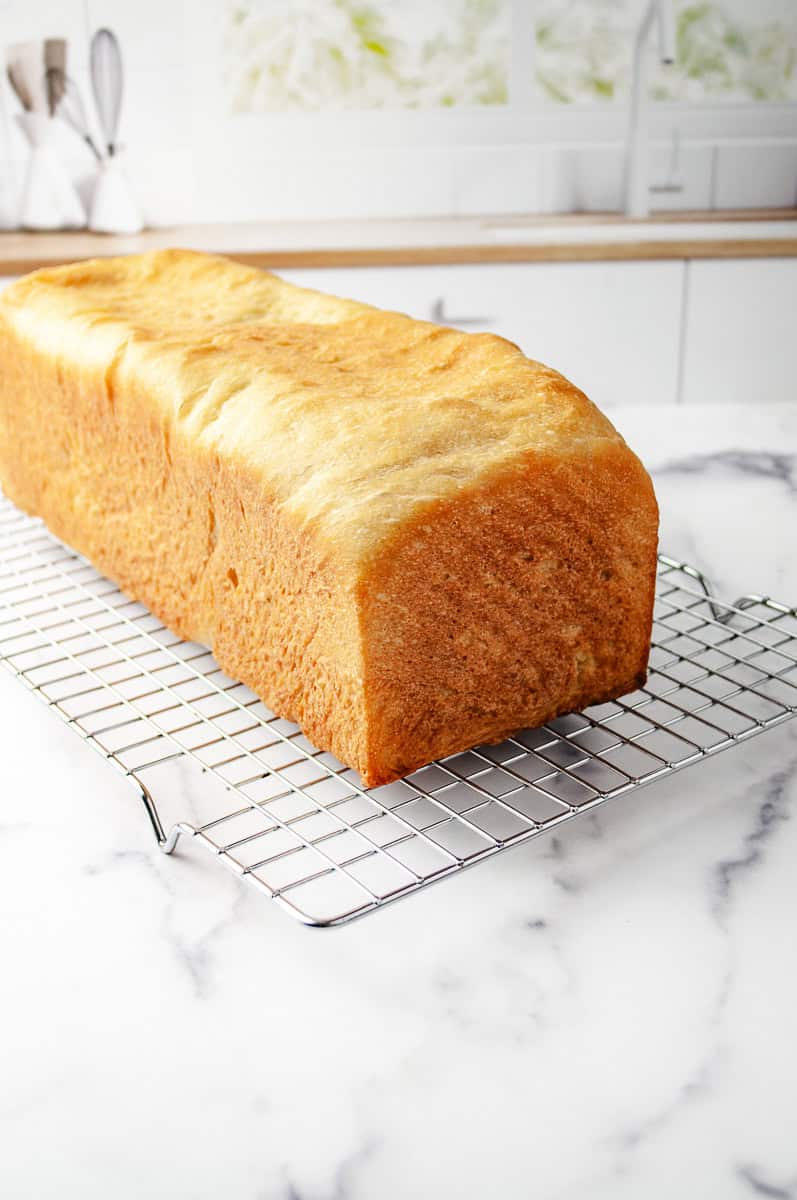
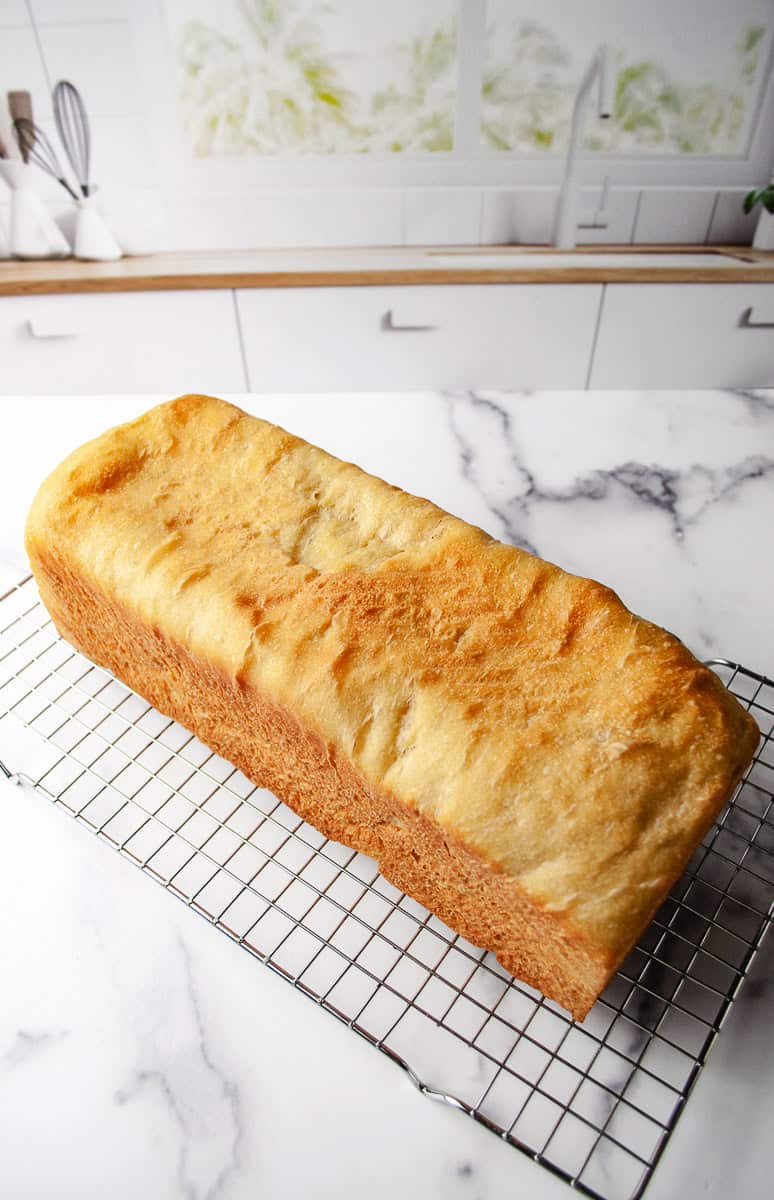
- Cool completely before slicing. Lift the loaf out of the pan and set it on a wire rack to cool completely. I know how tempting it is to slice into it right away, but cutting into a warm sourdough loaf will give you a gummy, collapsing interior. Wait until it is fully cooled at room temperature, and you will have perfect slices every time.
Tips and Tricks for a Perfect Pullman Sourdough Loaf
Use a kitchen scale. Sourdough baking rewards precision. Cup measurements are fine as a backup, but grams give you consistent results every single time. A small digital scale is one of the best investments you can make for your bread baking.
Make sure your starter is truly active. The most common reason a sourdough loaf does not rise the way you hoped is a starter that was not ready. Feed yours 4 to 8 hours before mixing and wait for it to be bubbly, doubled, and domed before it goes into the dough.
Temperature matters more than time. If your kitchen runs cool, your dough will take longer to rise during both the bulk ferment and the second rise in the pan. If it runs warm, it may be ready faster. Use the timing as a guide, but let the dough itself tell you when it is ready.
Do not rush the cool-down. This is honestly the hardest part for me, too. But slicing too early is the single most common reason people end up with a gummy loaf. Set it on the rack, walk away, and give it a full hour or two to cool completely.
Freeze what you will not use within 3 days. This bread has no preservatives, so it will not last as long as store-bought. Once the loaf has cooled completely, slice the whole thing and freeze half in a zip bag. Individual slices toast perfectly straight from the freezer.
You might also love these recipes from Crafting a Family Dinner
- Homemade Bread Machine French Bread
- Bread Machine White Bread The Best Sally Lunn Recipe
- Homemade Bread Machine Pizza Dough

Frequently Asked Questions
A: Yes, a standard 9×5 inch loaf pan works well. Your loaf will have a rounded top instead of a square shape, but the flavor and texture will be the same. Cover the pan loosely with aluminum foil after the first 20 minutes of baking if the top starts to brown too quickly.
A: This almost always comes down to starter activity. Your starter needs to be fed and at its bubbly, domed peak before it goes into the dough. A cold kitchen also slows the rise significantly. Try placing the covered bowl in a warmer spot, like an oven with just the interior light on, and give it more time.
A: For this recipe, active starter is truly important. Sourdough discard does not have enough leavening strength to produce that fluffy rise. Make sure to feed your starter 4 to 8 hours before mixing and wait until it is bubbly and doubled before you begin.
A: Store sliced bread in a bread bag or wrapped tightly at room temperature for up to 3 days. For longer storage, slice the entire cooled loaf and freeze it in a zip bag. Slices can be toasted directly from the freezer without any thawing needed.
Sourdough Sandwich Bread in a Pullman Loaf Pan
This Sourdough Sandwich Bread baked in a Pullman loaf pan creates the perfect tall, square-shaped loaf with a soft, tender crumb and subtle tangy flavor. Great for sandwiches that hold up beautifully and make the best toast. Naturally leavened with sourdough starter — no added yeast required.
Ingredients
- 150 grams of warm Milk (under 100 F)
- 75 grams of warm Water
- 225 grams of Active Sourdough Starter
- 2 eggs
- 50 grams of sugar
- 55 grams of Light Olive Oil (or melted and cooled butter)
- 15 grams of Pink Salt
- 420–480 grams of All Purpose Flour (I did substitute 1 cup with Golden Wheat)
Instructions
- In the large bowl of a stand mixer, mix together on low (or use a whisk) the milk, water, starter, eggs, sugar, olive oil or butter, and salt.
- With the mixer on low, start adding the premeasured amount of flour to the mixer. When all incorporated, turn the mixer on medium and knead for 5 to 6 minutes. The dough should be smooth.
- Cover the bowl with a bread bowl proofing cover. (see note for where to find the covers).
- Set the dough to ferment for 8 to 12 hours at room temperature until it is about double the size. (This will depend on where you live and how warm your kitchen is)
- Turn the dough out onto a floured board and shape it into a rectangle. Use your rolling pin to shape the dough into a rectangle.
- Next, roll the rectangle up into a roll to about the width of your pan and tuck in the ends.
- Lightly grease the pan and lid with light olive oil or butter.
- Place the loaf into your pan, seam side down, cover with the lid, and let it rise until it is 1/2 inch from the top of the pan.
- Preheat your oven to 375° F. and bake for 35 minutes with the lid on or until the internal temperature is 190° to 200 ° F.
- After you remove the bread from the oven, open the lid an inch and cool for 20 minutes.
- Remove from the pan and let it cool completely. Yes: DO NOT SLICE UNTIL COOLED COMPLETELY.
Notes
- I am just a beginner at sourdough backing so I have been inspired by Hopewell Heights. She has many recipes and videos.
- This recipe is for a 13-inch Puman pan with the lid.
- The kneading is done in a stand mixer.
- IMPORTANT: If you slice before the inside of the bread is completely cooled, it will be gummy and not be the loaf you are expecting.